First Handwired Bloomer
This keyboard was previously named the Atreus87/Ergo87
Previewing the Layout
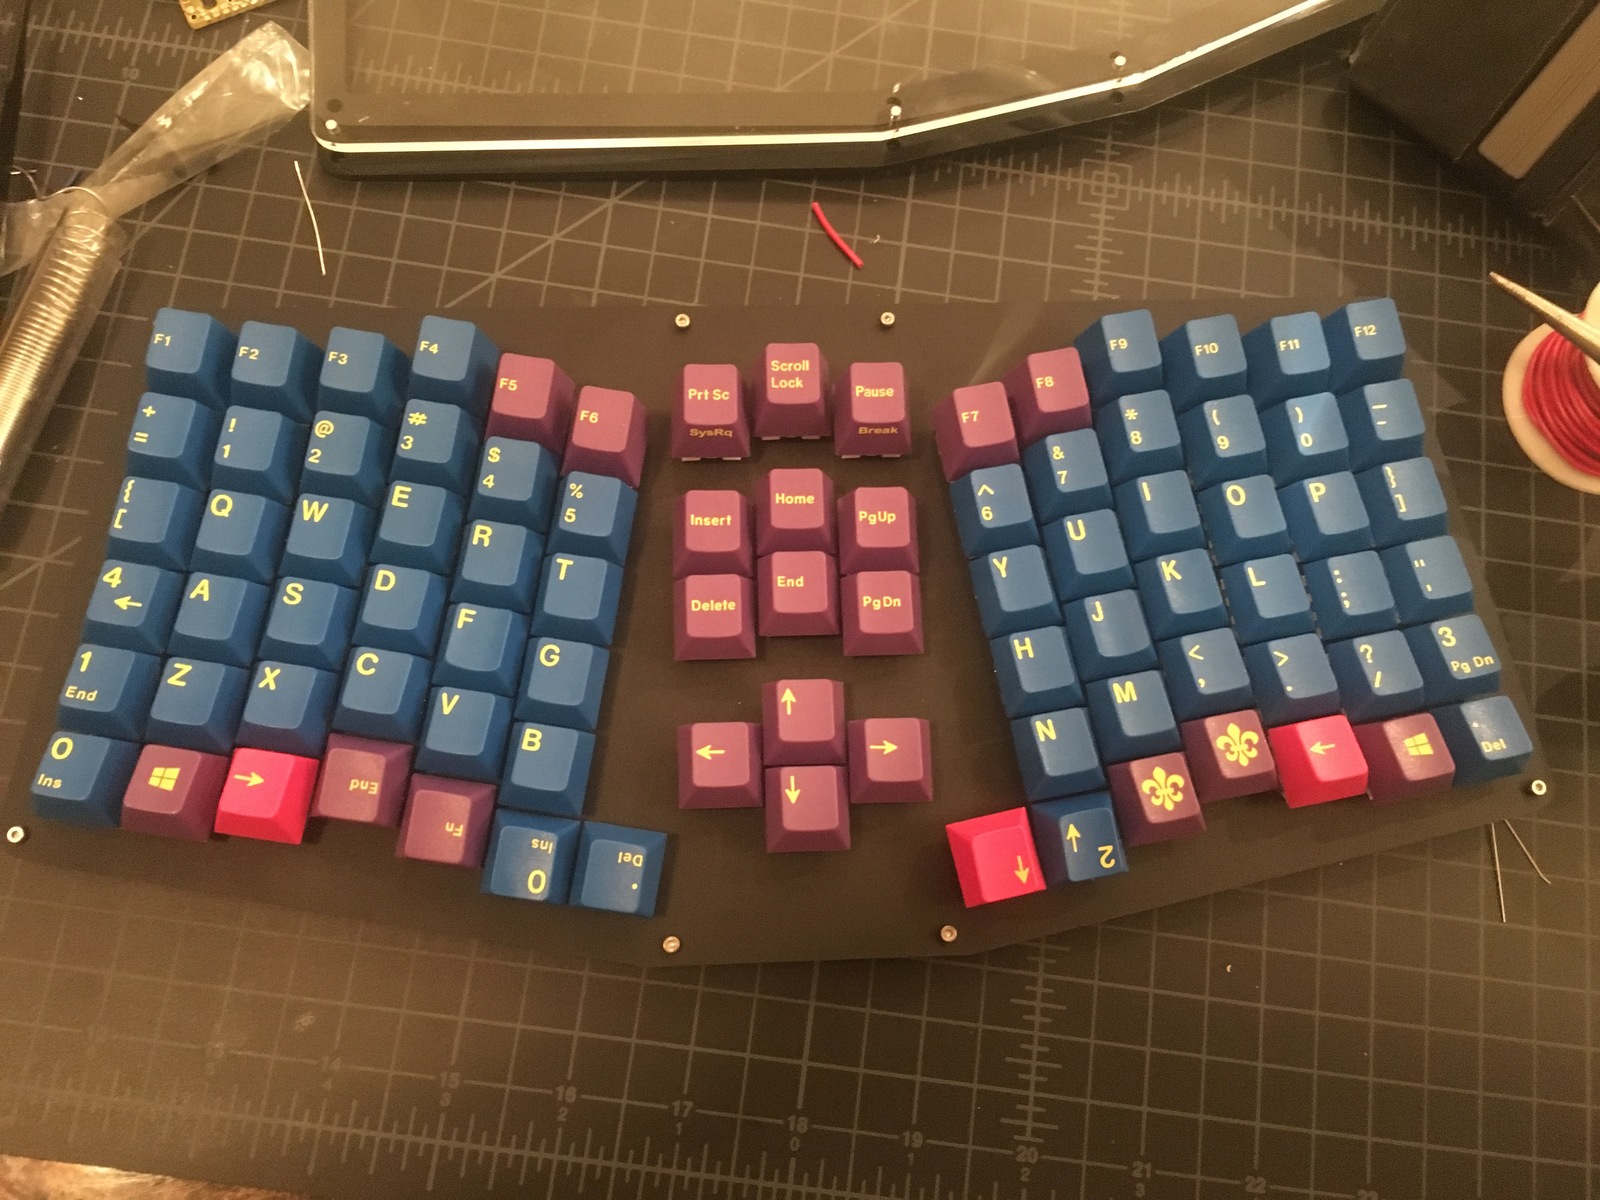
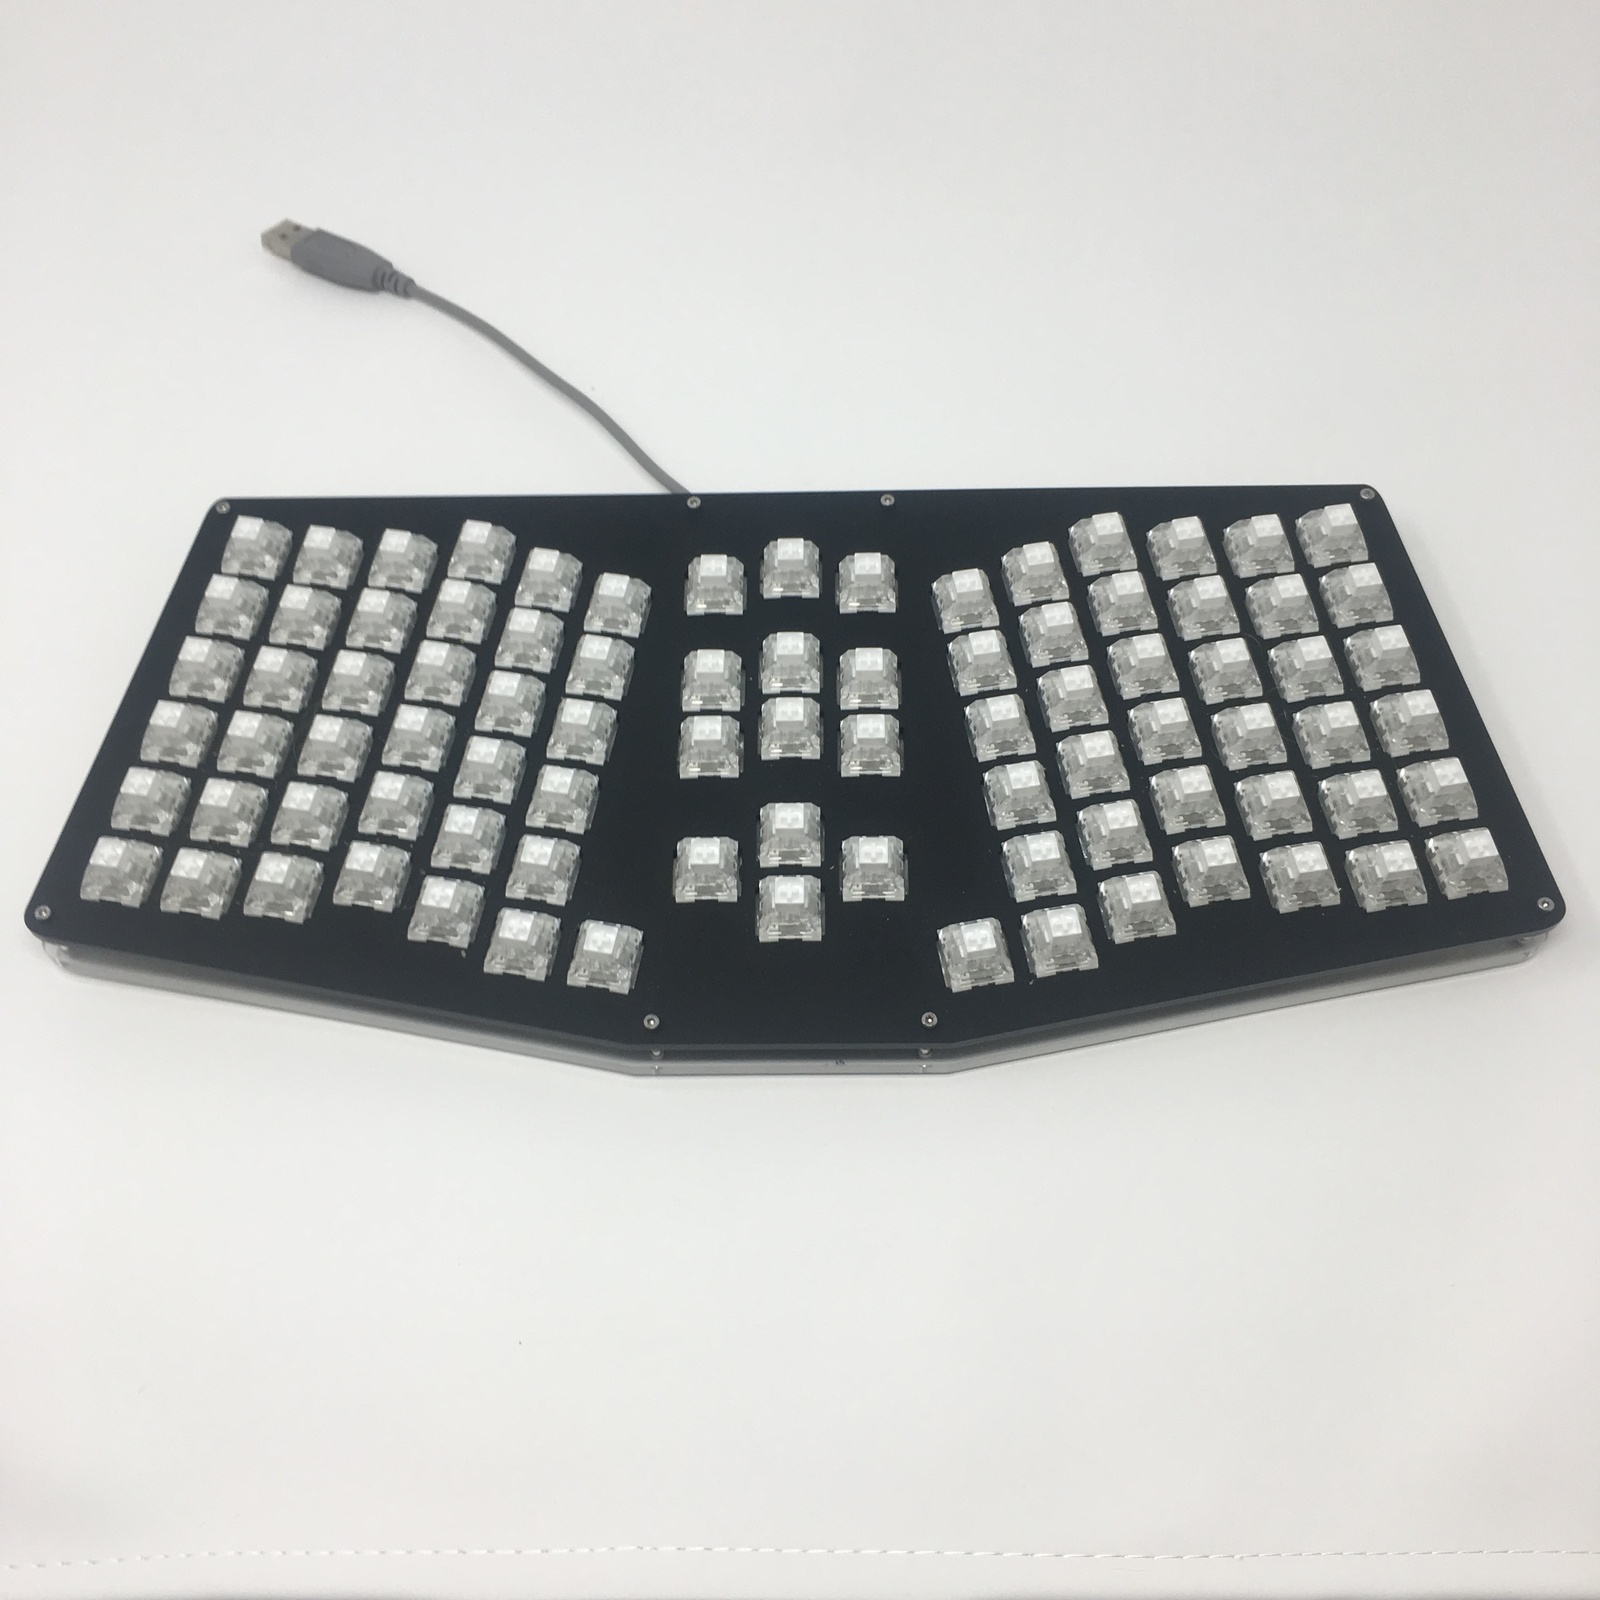
Before building the keyboard, I put some switches and keycaps on it to make sure the layout is comfortable.
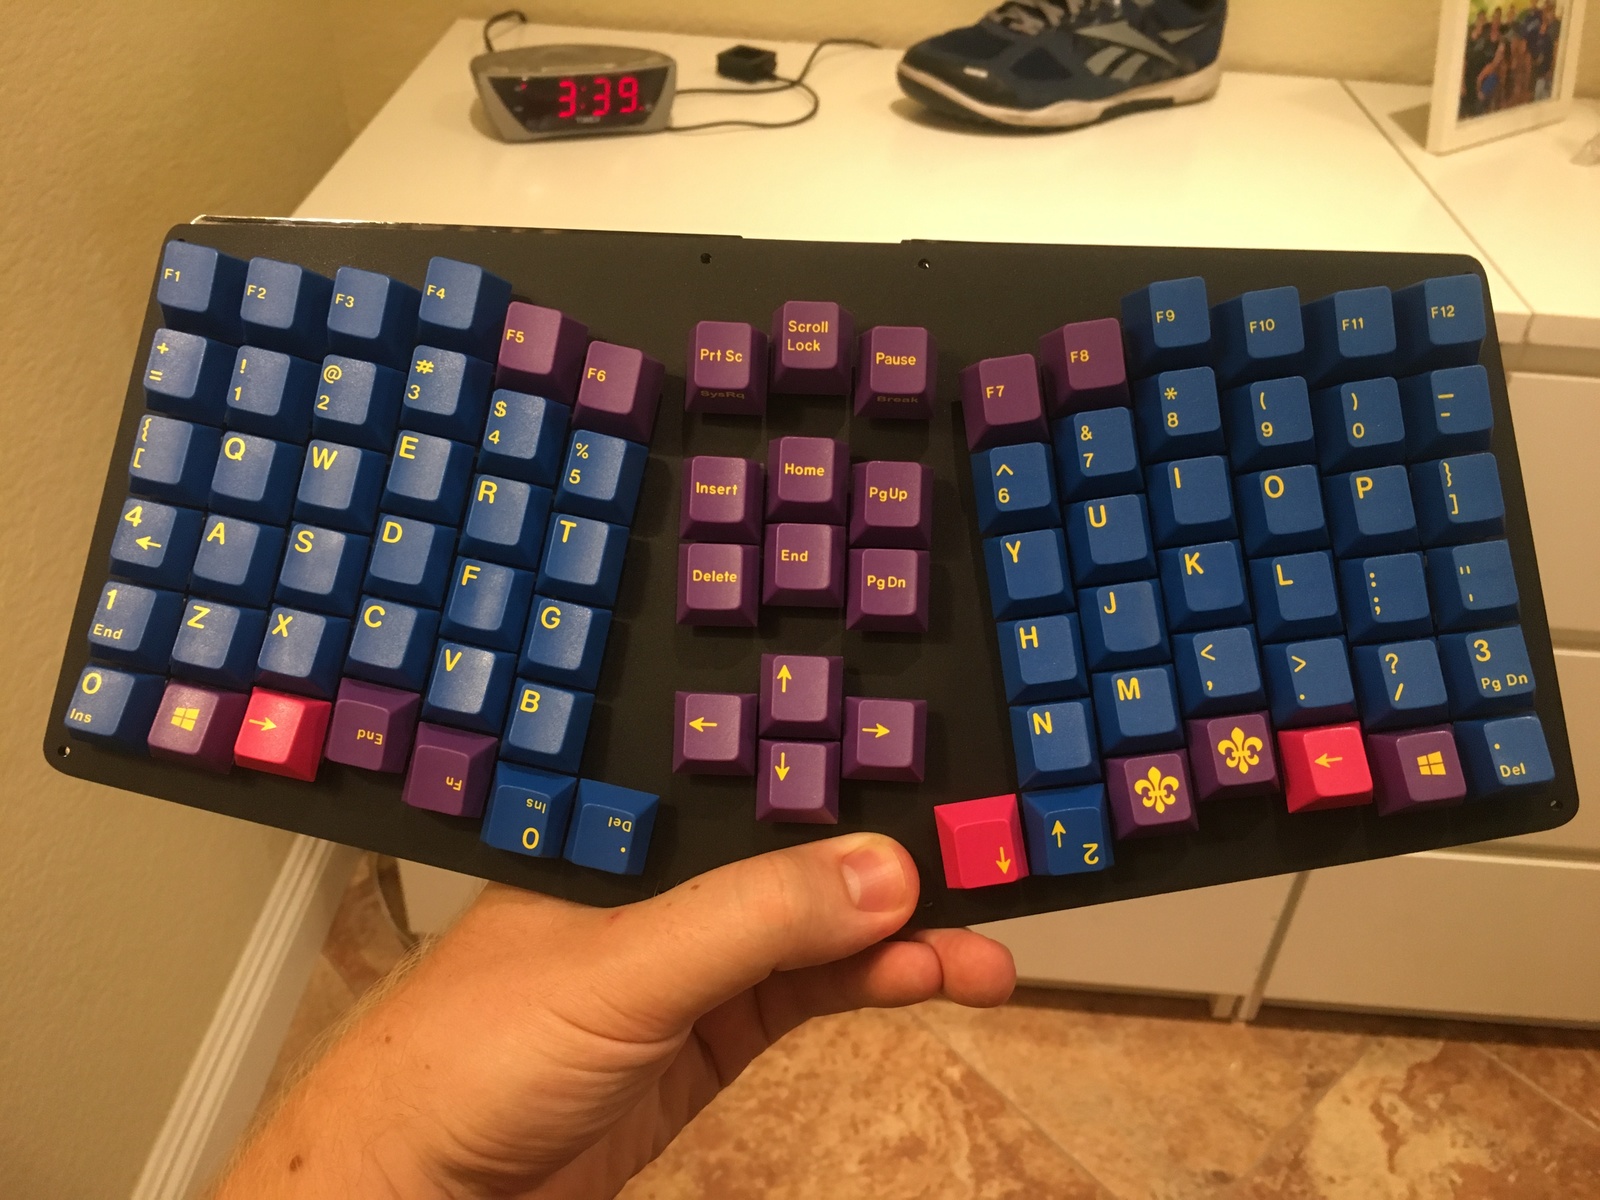
Here’s another angle showing the thumb key profiles.
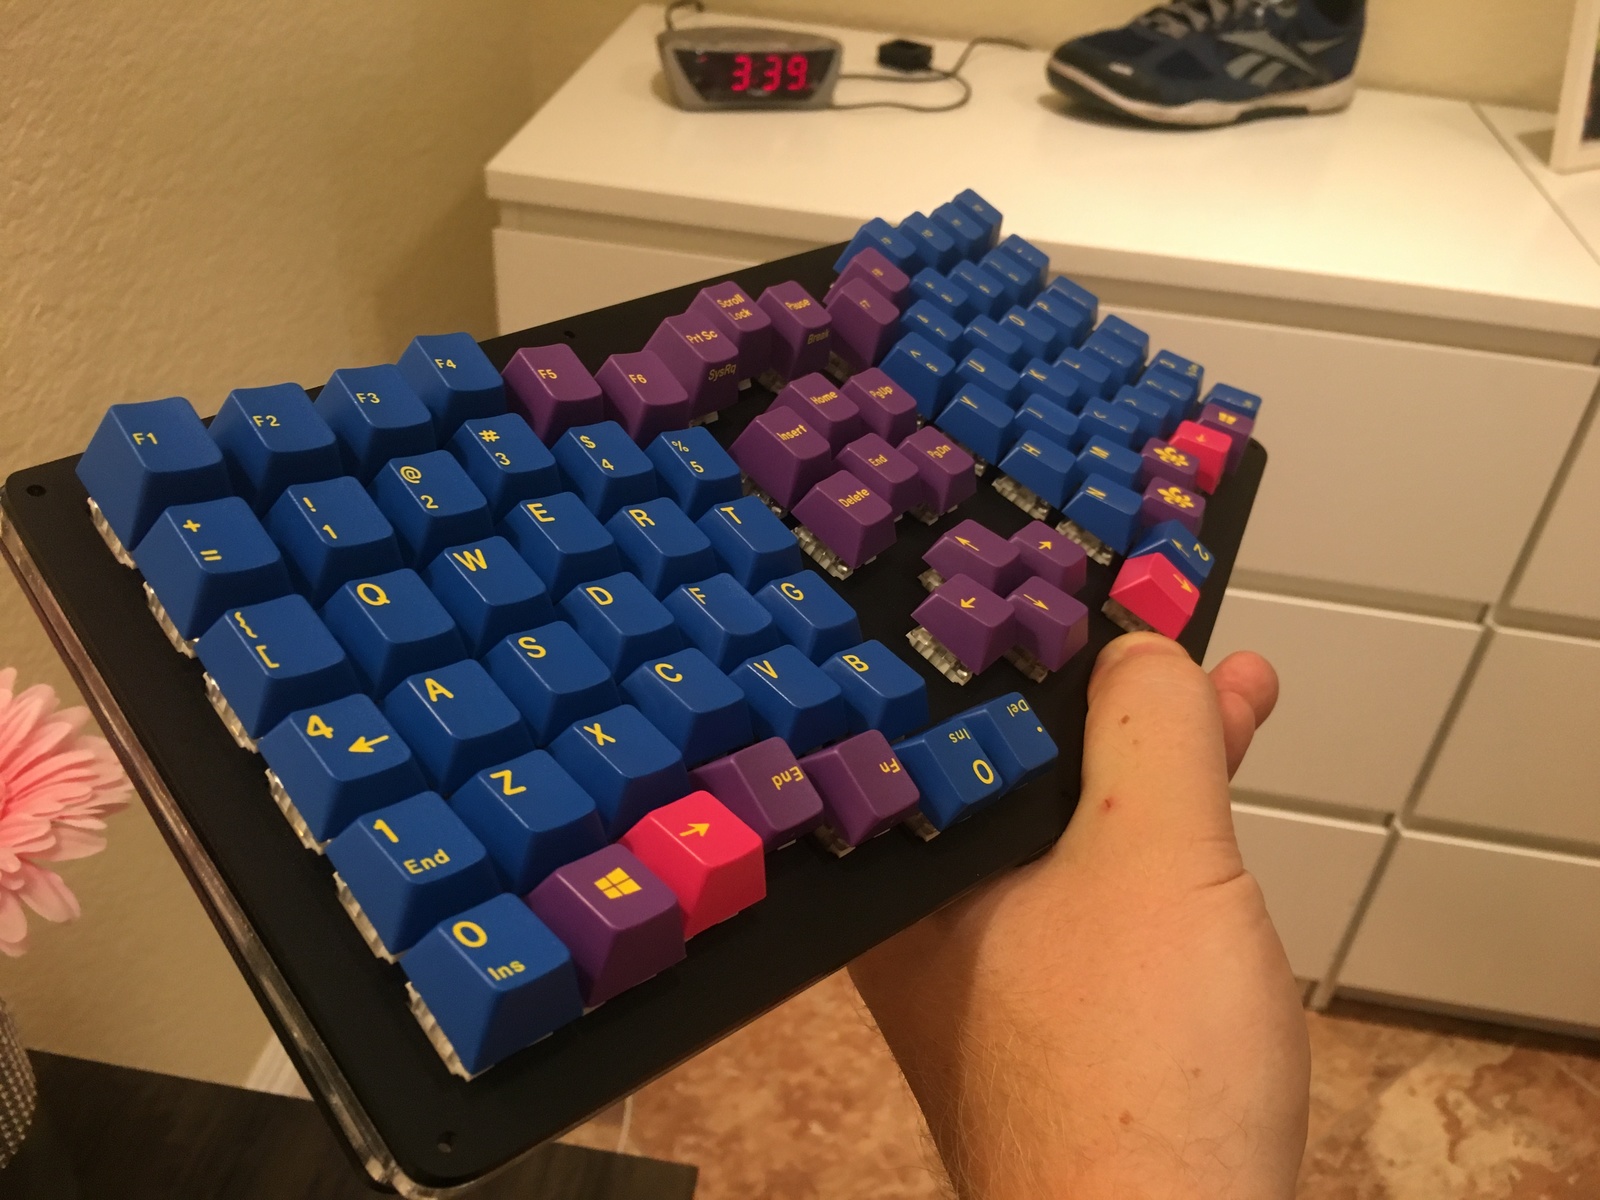
I chose to go with GMK Iris as it has R0 and R5 profiles in the top and bottom row. My hope was that this would help the the function keys stand out a bit from the number keys, and it does.

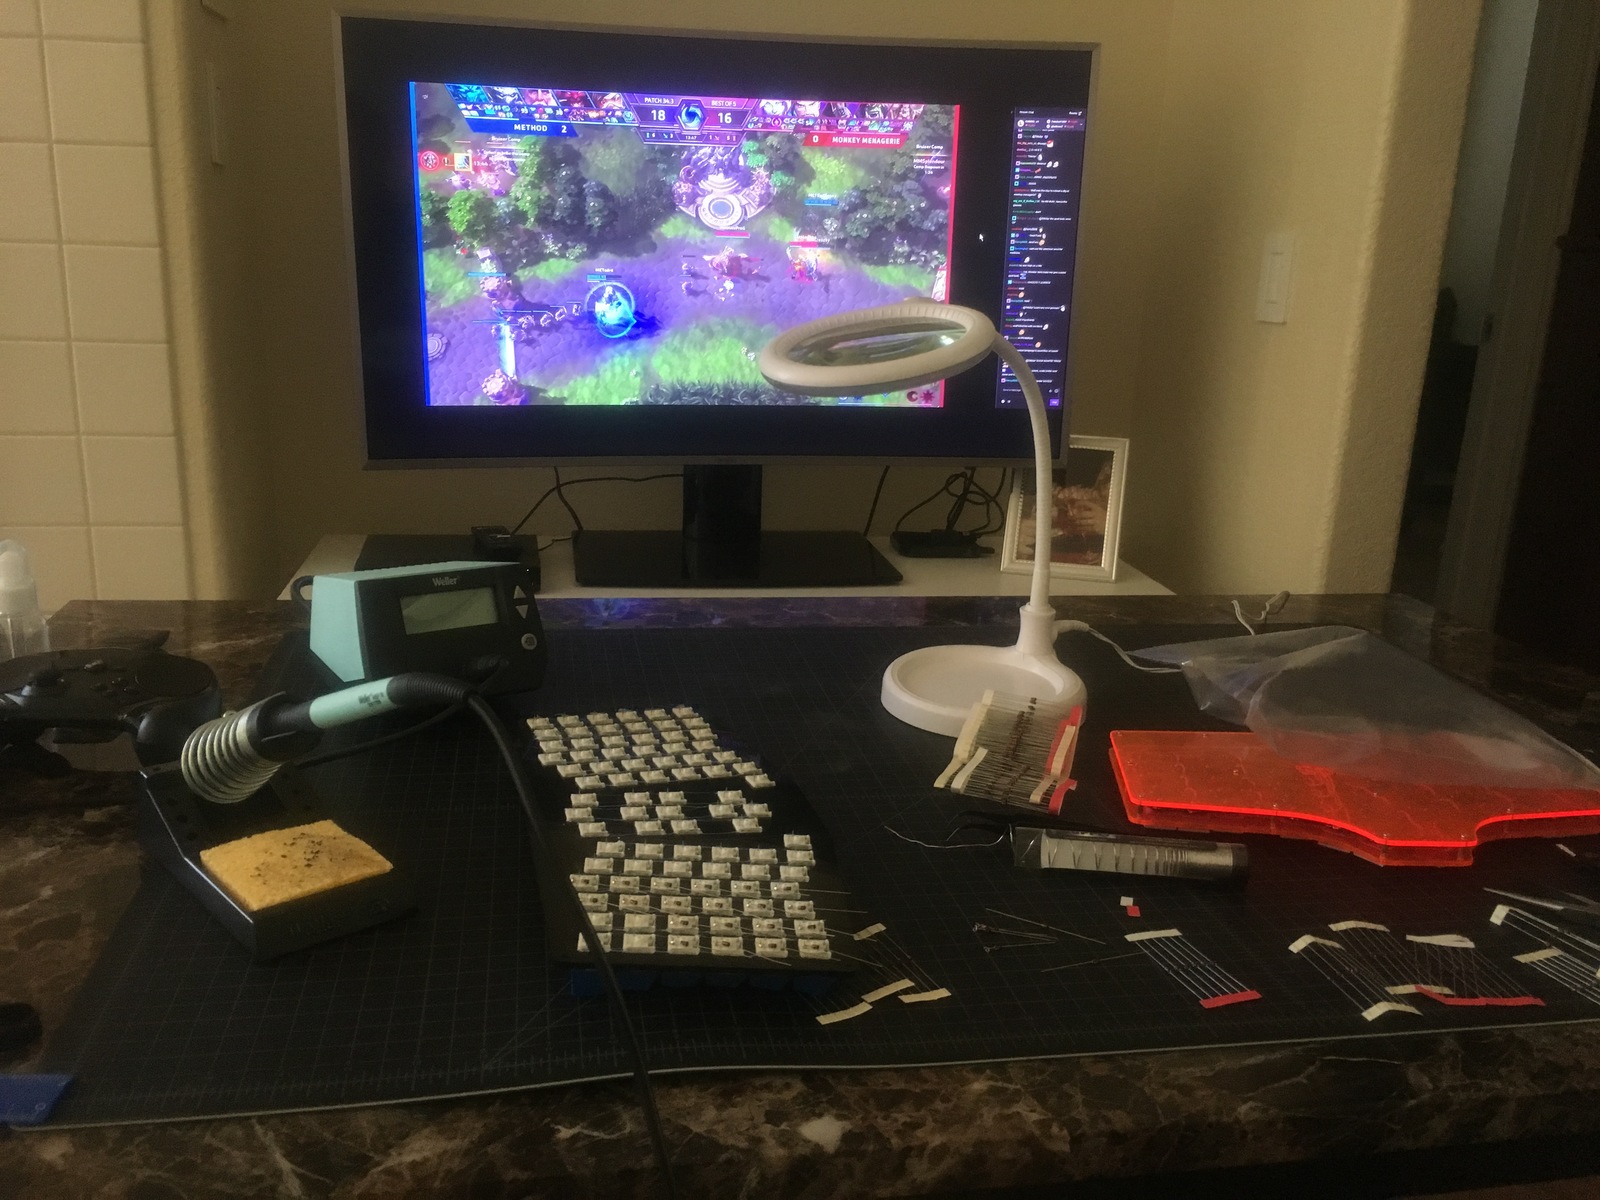
Soldering the Components
Rather than build this keyboard at my workbench in the garage like my previous projects, I decided to pull a table into the living room so I could distract myself from the extremely tedious task of hand-wiring with some eSports.
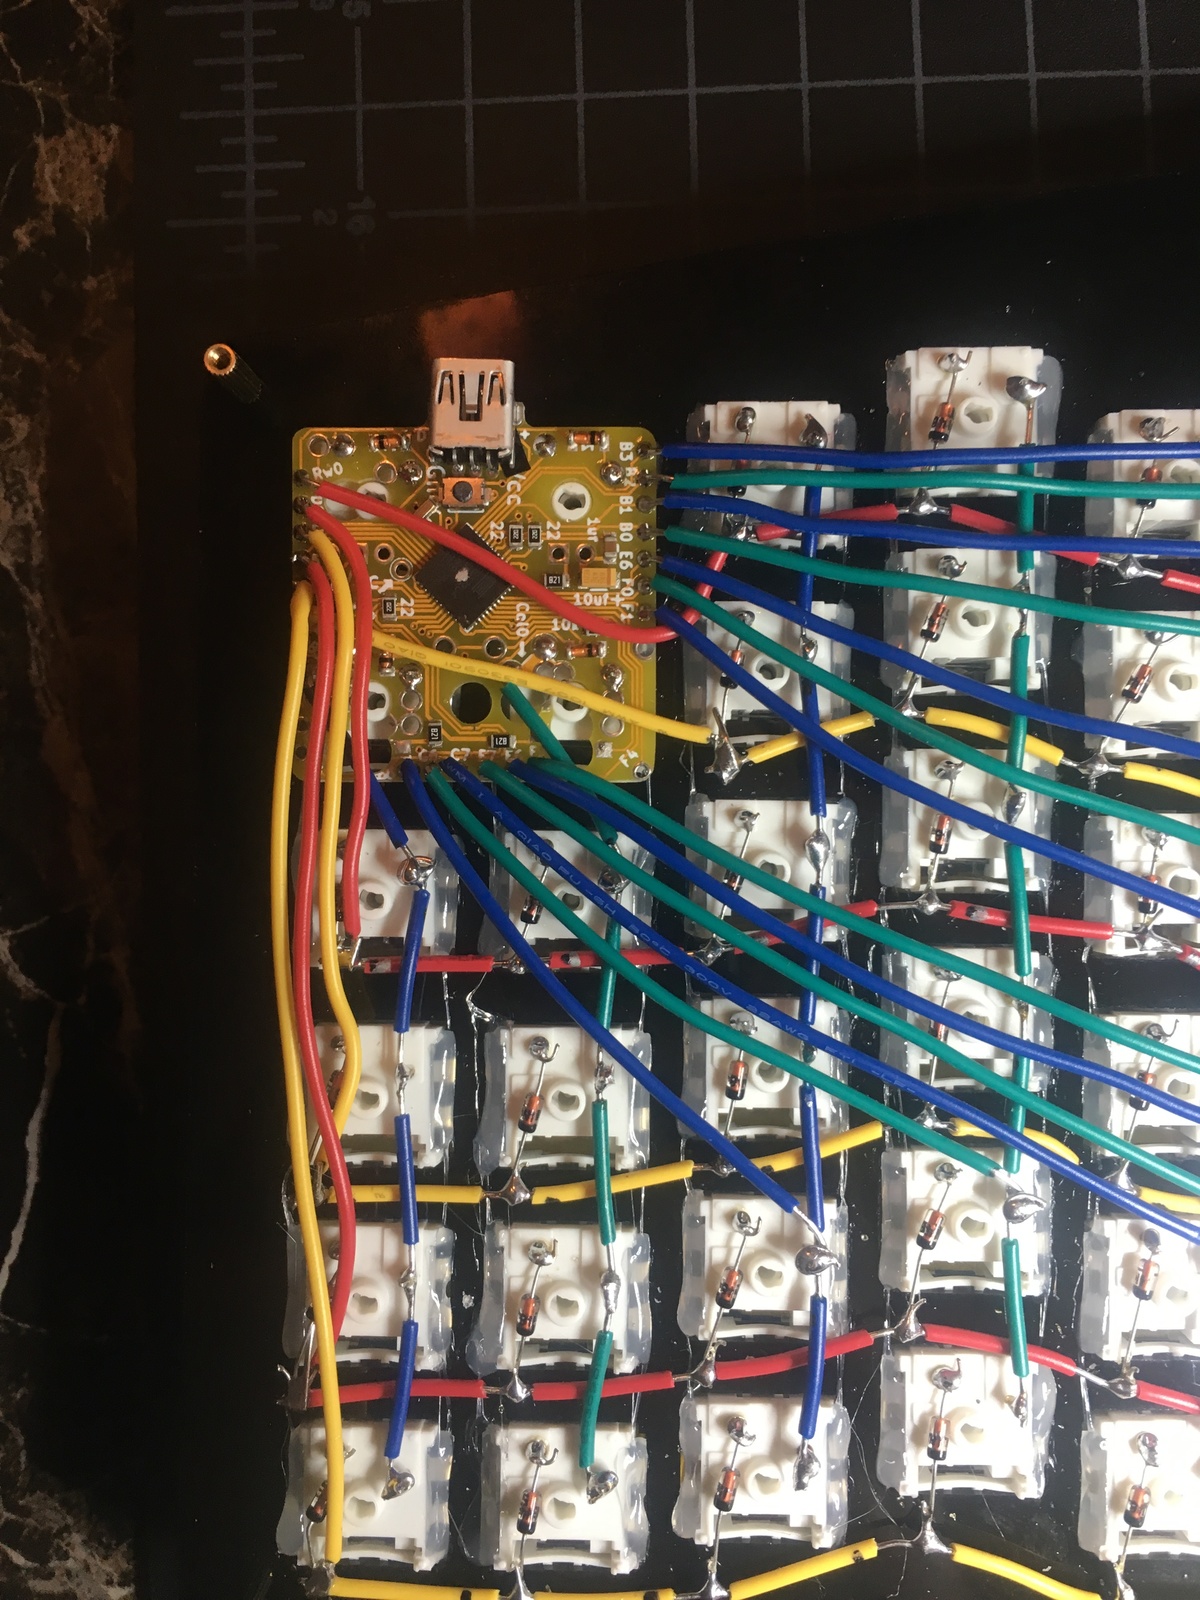
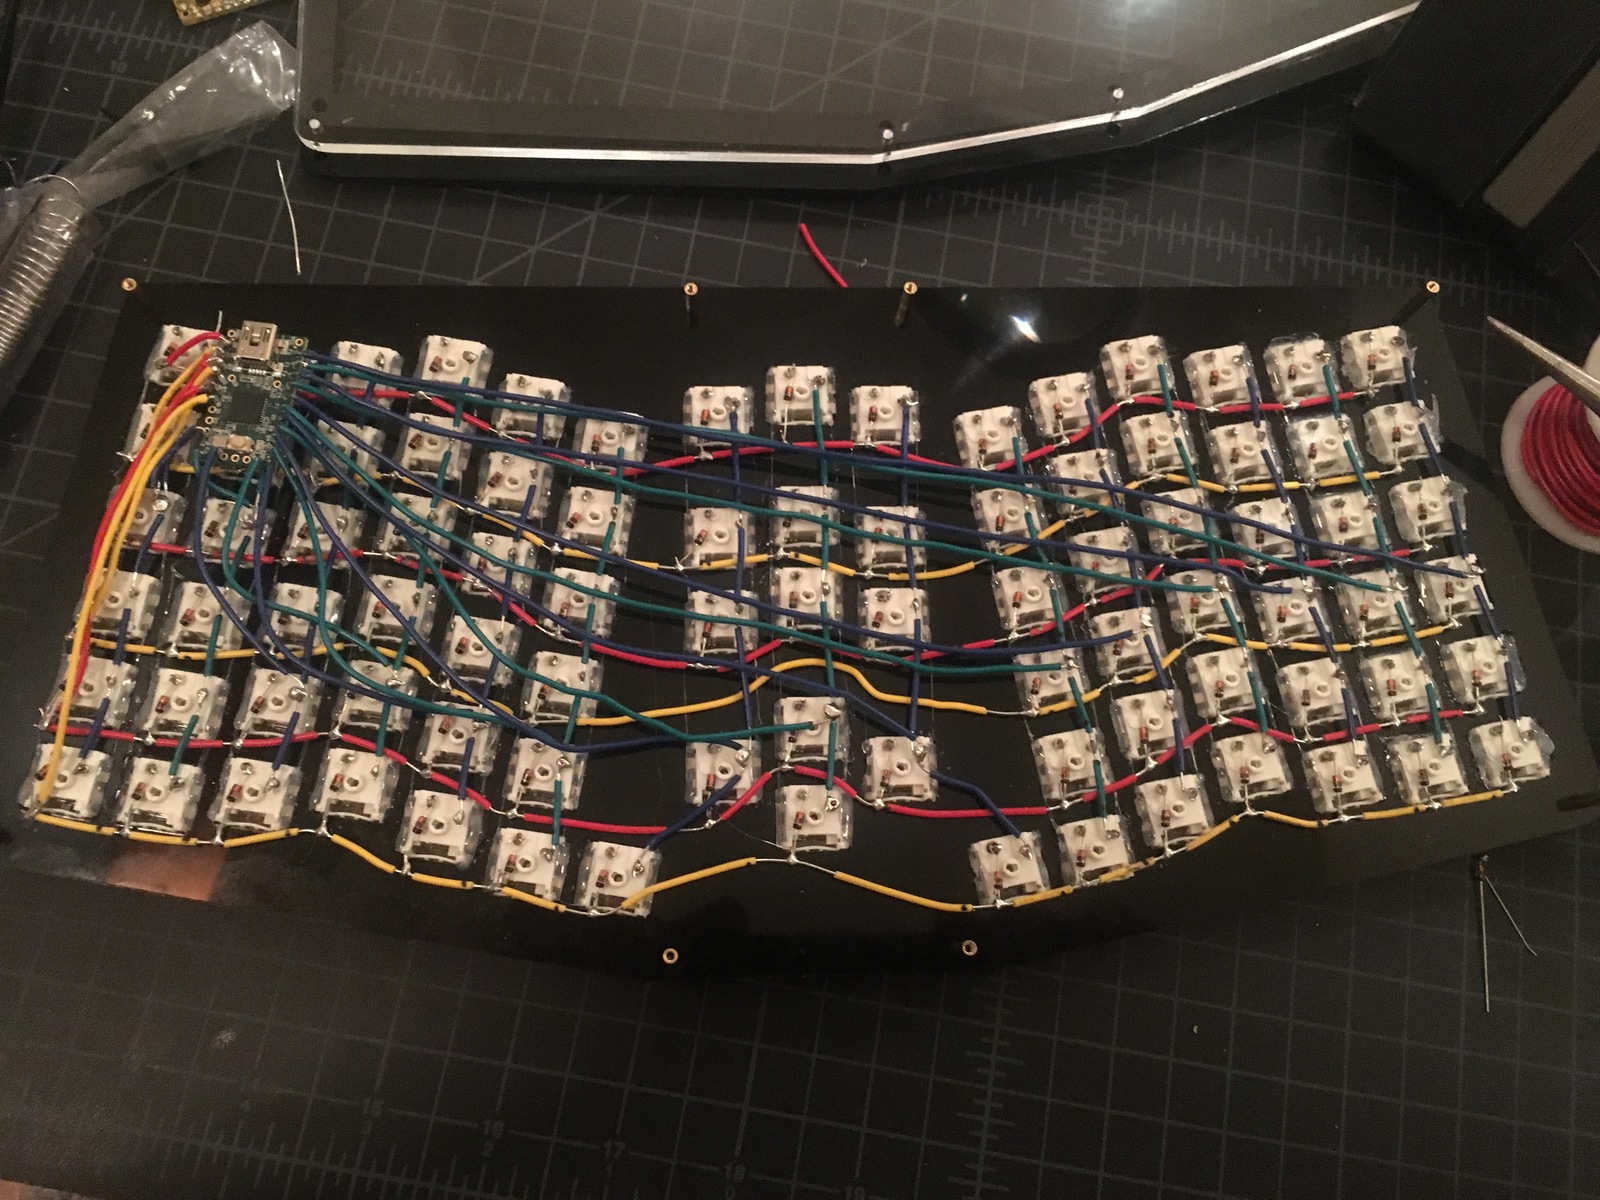
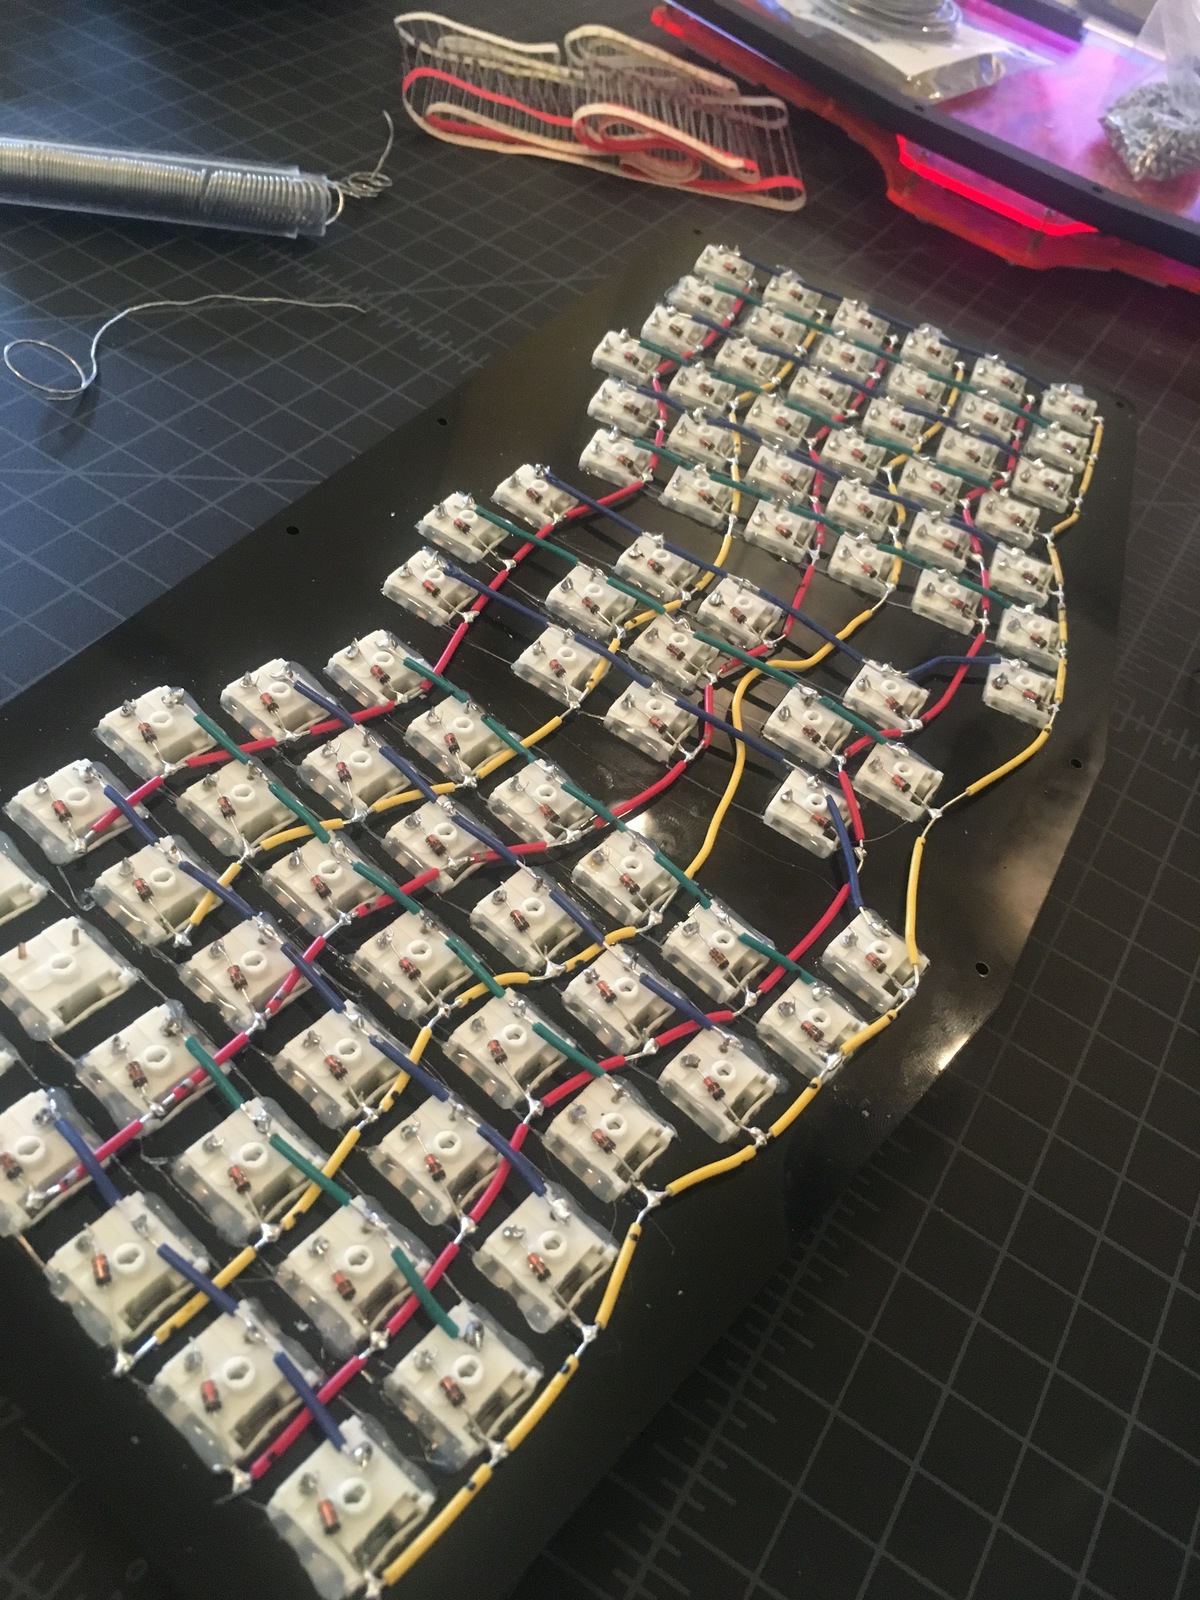
This is the keyboard with all of the diodes soldered.

I didn’t take many pictures of the rest of the soldering and the few that I did take didn’t turn out well.
Soldering the First Controller
To make this build a bit easier, I picked up a Swiss Helper on MechMarket. The concept behind the Swiss Helper is awesome. It hosts a 32u4, a reset switch, and a mini USB, providing the same functionality as something like a Teensy. Unlike a Teensy, it has MX switch footprints which helps reduce the height of the board while still allowing the controller to be located directly under the switches.
Unfortunately, this one was likely defective as I fumbled with trying to get the bootloader to be recognized for several hours and finally gave up.
I defeatedly desoldered it and pulled out a Teensy 2.0 that I had lying around.
I actually bought two of the Swiss Helpers so I am hoping to test out the other one in a future build. I’ll just make sure to test the firmware upfront next time.
Soldering the Second Controller
With the Teensy 2.0 in hand, I started resizing some of the wires to account for the new pin positions.
The First Attempt
Without much thought, I decided to position the Teensy 2.0 where the Swiss Helper had been. This was primarily so I could be lazy and only resize a few of the wires.
Welp, this was a mistake…
I quickly realized that the controller no longer fit between the top and bottom plates with any of the spacers that I have, the largest of which are 12mm. At this point it was late at night and I just wanted to start typing on my creation so I tried combining multiple spacers, which actually worked.
It at least held all of the electronics off of the desk so I could plug it in, flash the firmware, and test that the keyboard was functional.
The keyboard was uncomfortably thick though and I knew that the double spacer hack wasn’t a practical solution.
The Second Attempt
For the second time, I begrudgingly desoldered the controller.
I had to resize all of the wires on one half to reach the new controller location but I left the other half the same, even though they were way longer than they needed to be. At this point I no longer cared about aesthetics; I just wanted the keyboard to be functional and fit in the case.
After resoldering the Teensy, I almost accomplished my goal. The last two problems were that the USB cable didn’t fit in the case and that the controller was too close to the nearest spacer so the middle case layers wouldn’t fit.
The latter I decided I could live with. To solve the USB problem, I filed down the plastic housing on a USB dongle which is ugly, but functional.
The end result is a hideous mess but it at least got me a working version of the keyboard that I would go on to use as my daily driver for a while.
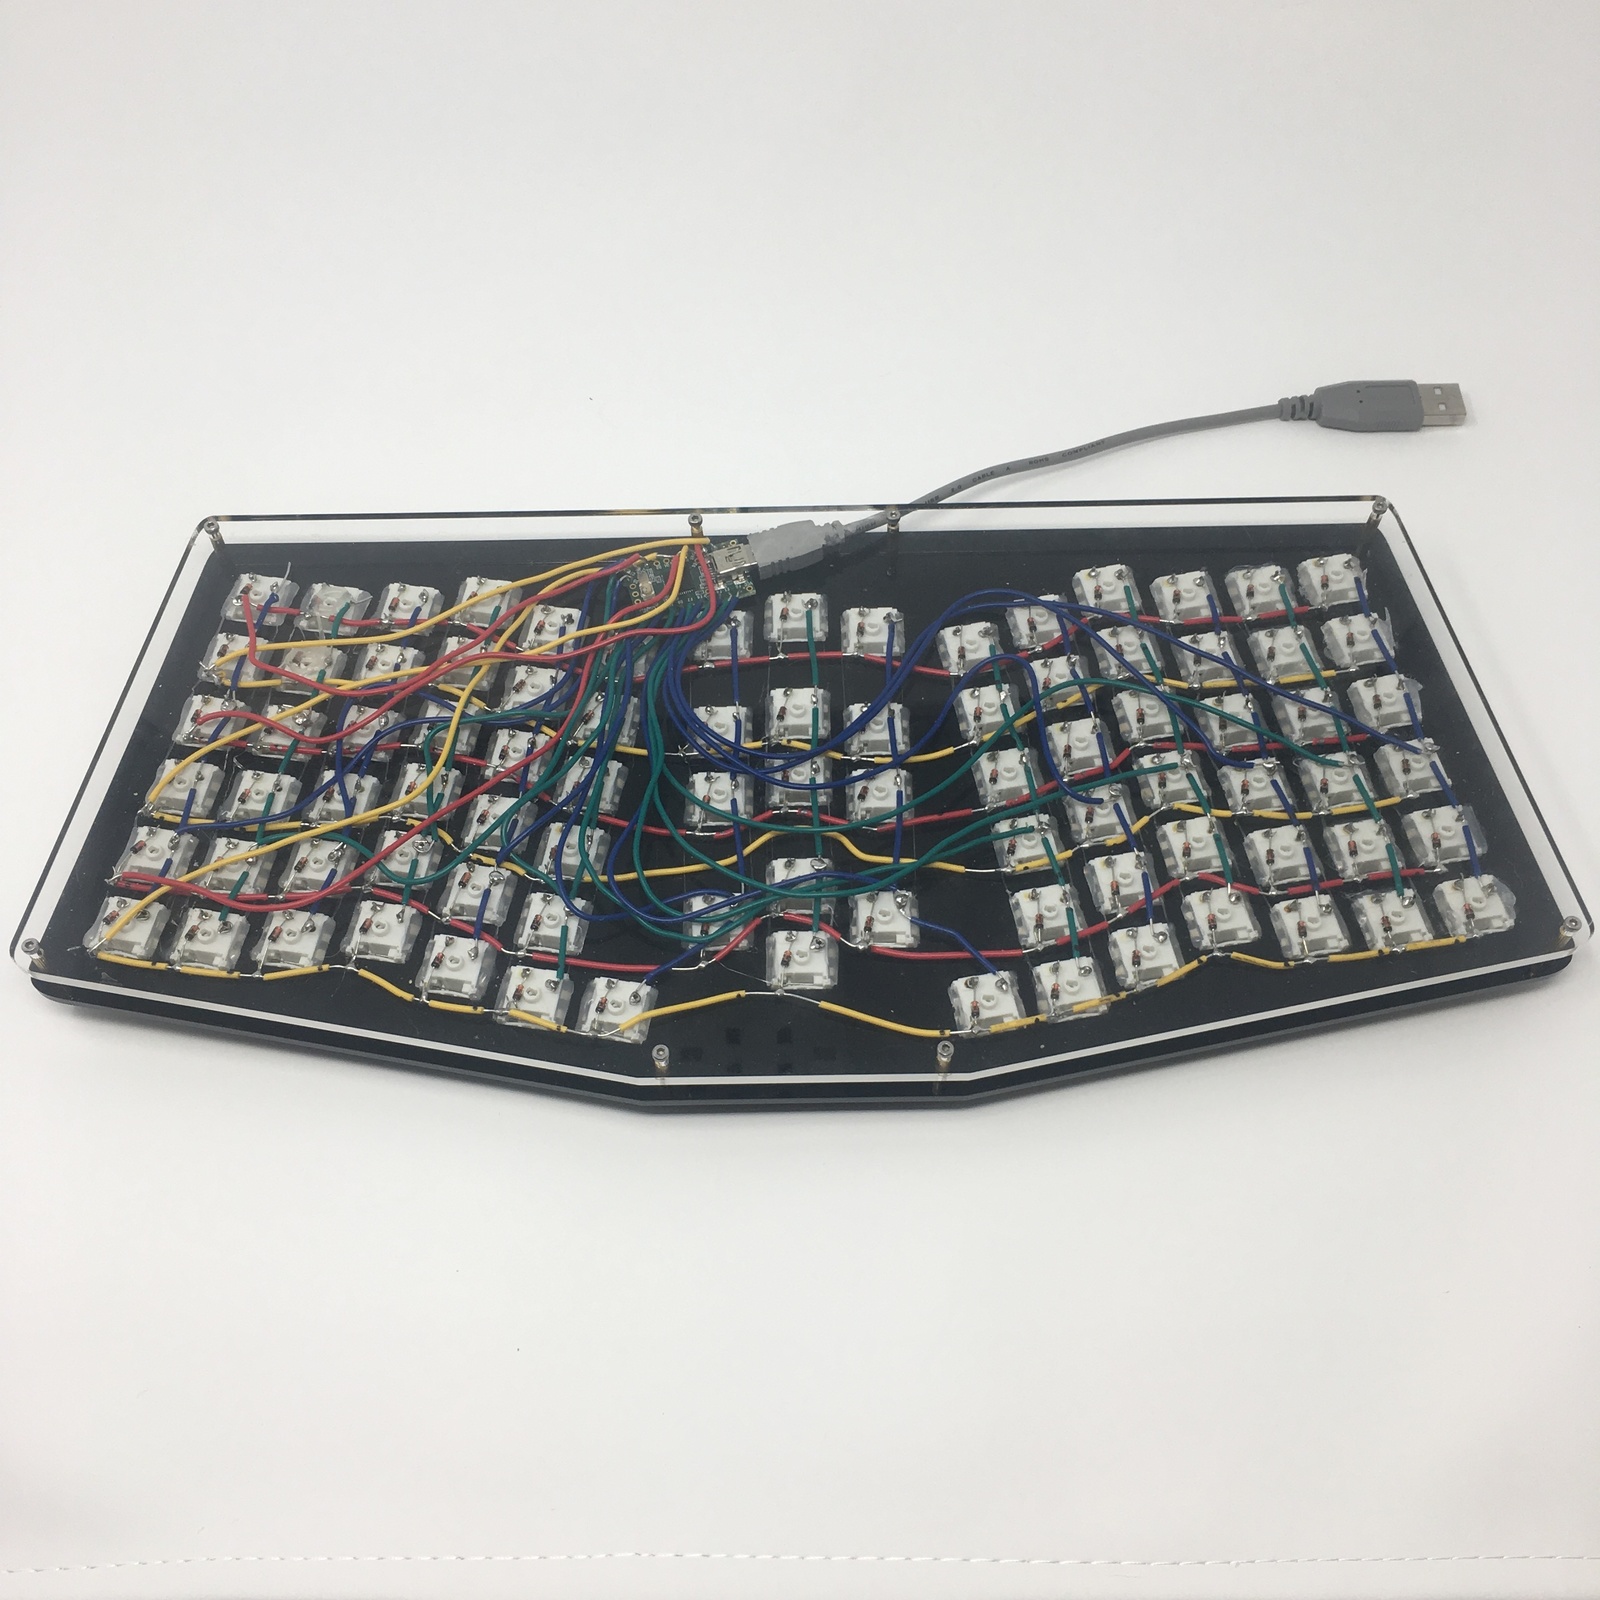
I’ve since designed a PCB which has made subsequent builds far simpler.