Heroes of the Storm Advantage2
Introduction
This post will document my adventure of taking my favorite keyboard and modifying it to make it my own. If you aren’t interested in reading about the process, here is the final product:

Background
A few years ago I bought my first mechanical keyboard; it was a Coolermaster CM Storm with cherry MX blue switches and I instantly loved it. Before that I was using a Merc gaming keyboard which I actually really liked for the attached gamepad, but the software was no longer being supported and it was quite worn out. After thoroughly enjoying the CM Storm at home for about a year, I decided to replace my keyboard at work with a mechanical keyboard as well. So, I purchased the WASD Code keyboard with cherry MX clears.
The Code is a solid board. I really enjoy the tactility of the clears and my coworkers appreciated that I wasn’t using blues in the office. About a year later I started having some pain in my hands and I decided to look into some ergonomic keyboard options. I stumbled across the Kinesis Advantage after witnessing one in action at work. Seeing how many positive reviews it had online I decided to take a gamble and shell out the $270 to get one. It was worth every penny.
It took a considerable amount of time to get used to. It punishes bad typing habits, of which I had many. For the first week, I started out just practicing about an hour per day doing typing tests. For the next two weeks I moved on to actually using it at work, but I would only work on it until getting frustrated at my lack of productivity, at which point I would switch back to my standard keyboard. Finally, I was proficient enough to use it throughout the entire day, and from then on getting comfortable was easy.
Once the Advantage 2 came out, I immediately bought one. It is an awesome board once you get used to it and it’s hard to go back to anything else. The downside is that if you are into mechanical keyboards like I am, there are very few options for customizations compared to the endless opportunites when using a standard keyboard. So, that’s when I decided to embark on this project!
The Journey
Sourcing the Parts
The first step in the project was actually to order the custom keycaps. These are PBT DCS keycaps from Signature Plastics with profiles matching the stock Advantage2 keycaps. They had to be custom ordered, so the lead time on them was about 7 weeks:
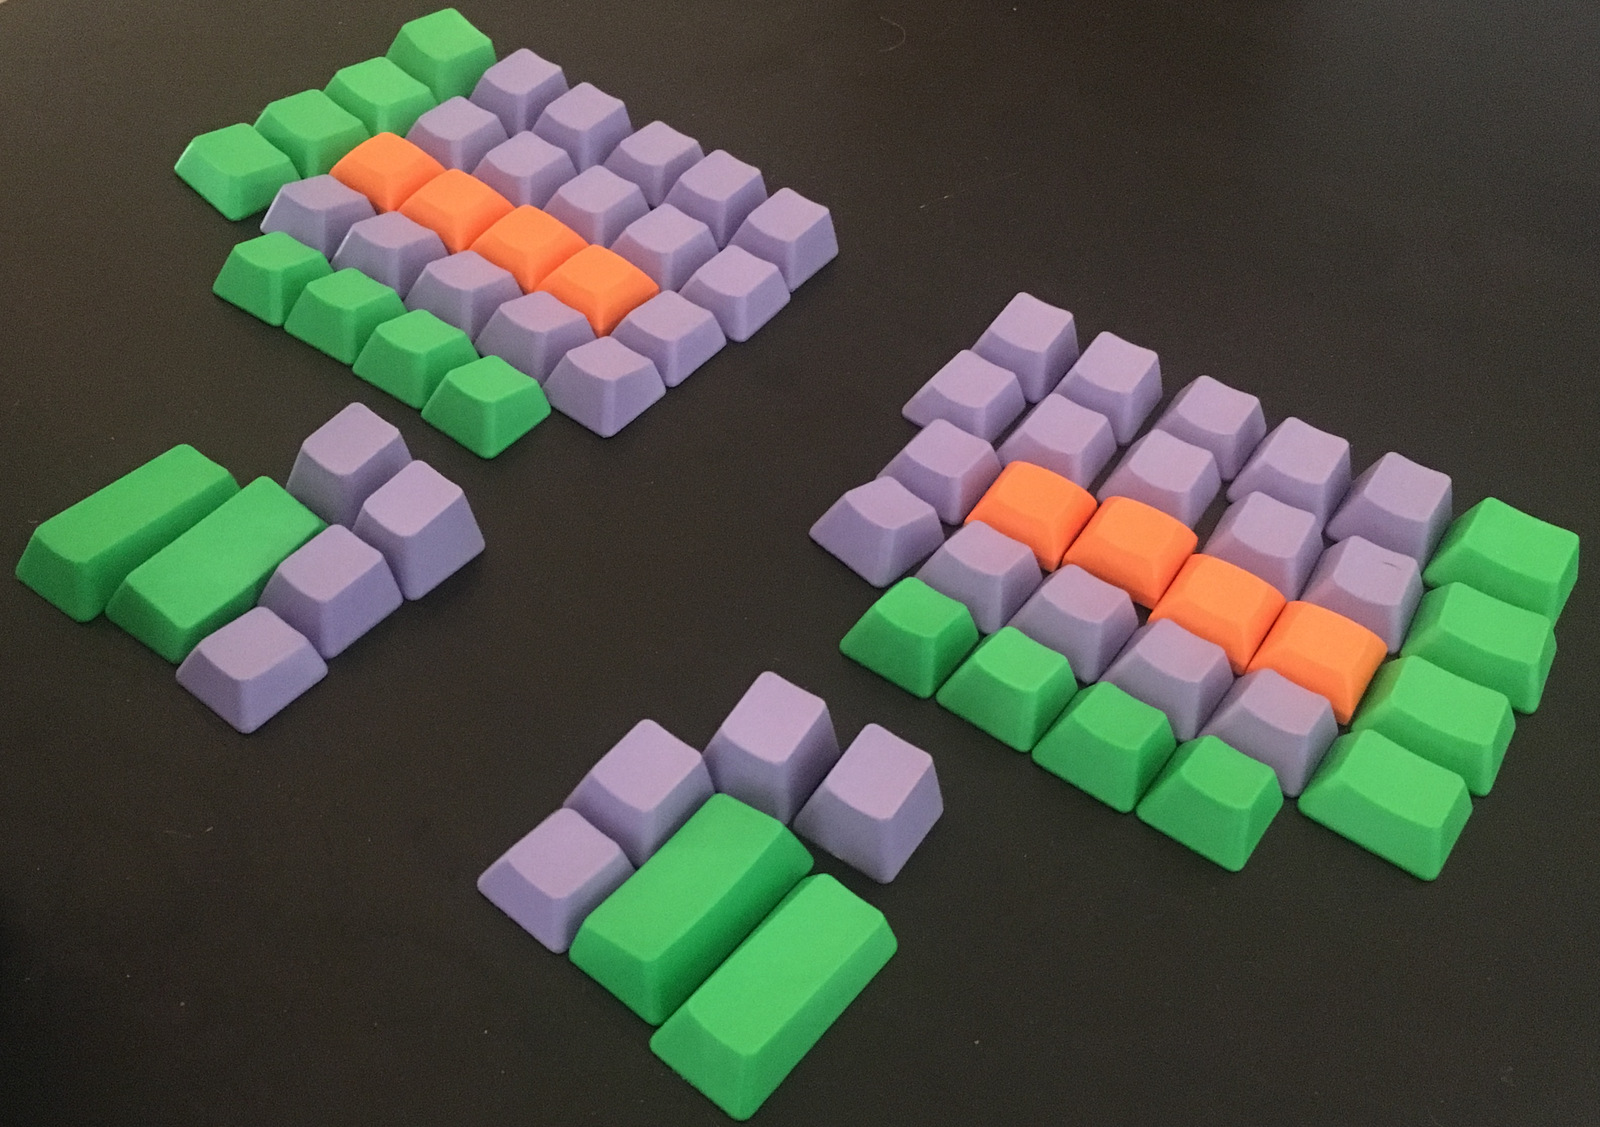
I like the DCS keycaps from SP. The surfaces aren’t quite as rough as the TaiHao keycaps I have on another keyboard but they feel good. They aren’t super thick either, which can be seen below, but are still much better quality than the stock ABS caps:

Once those were ordered, I needed some spare Advantage2 components so I contacted tech support at Kinesis. You could theoretically just desolder the stock switches, but this would be a huge pain, especially because they are hot glued into the plates.
Rick at Kinesis is really easy to work with and getting the parts was simple. I ended up buying 3 spare sets because I plan on trying out a couple different switches.
I ordered some PCB-mount Gateron blue and green switches from kbdfans.com and diodes from Mouser Electronics. I was pleasantly surprised at how fast the switches shipped considering they came from China. Once everything arrived, it was time to get started.
I found another build log of someone replacing the switches on their own Advantage2 on Reddit so I’m not going to go into a ton of detail of each step. That guide can be found here: Kinesis Advantage2 Switch Replacement
(/u/insertsnideremarks deserves a big thank you for putting together a great guide!)
The Thumb Clusters
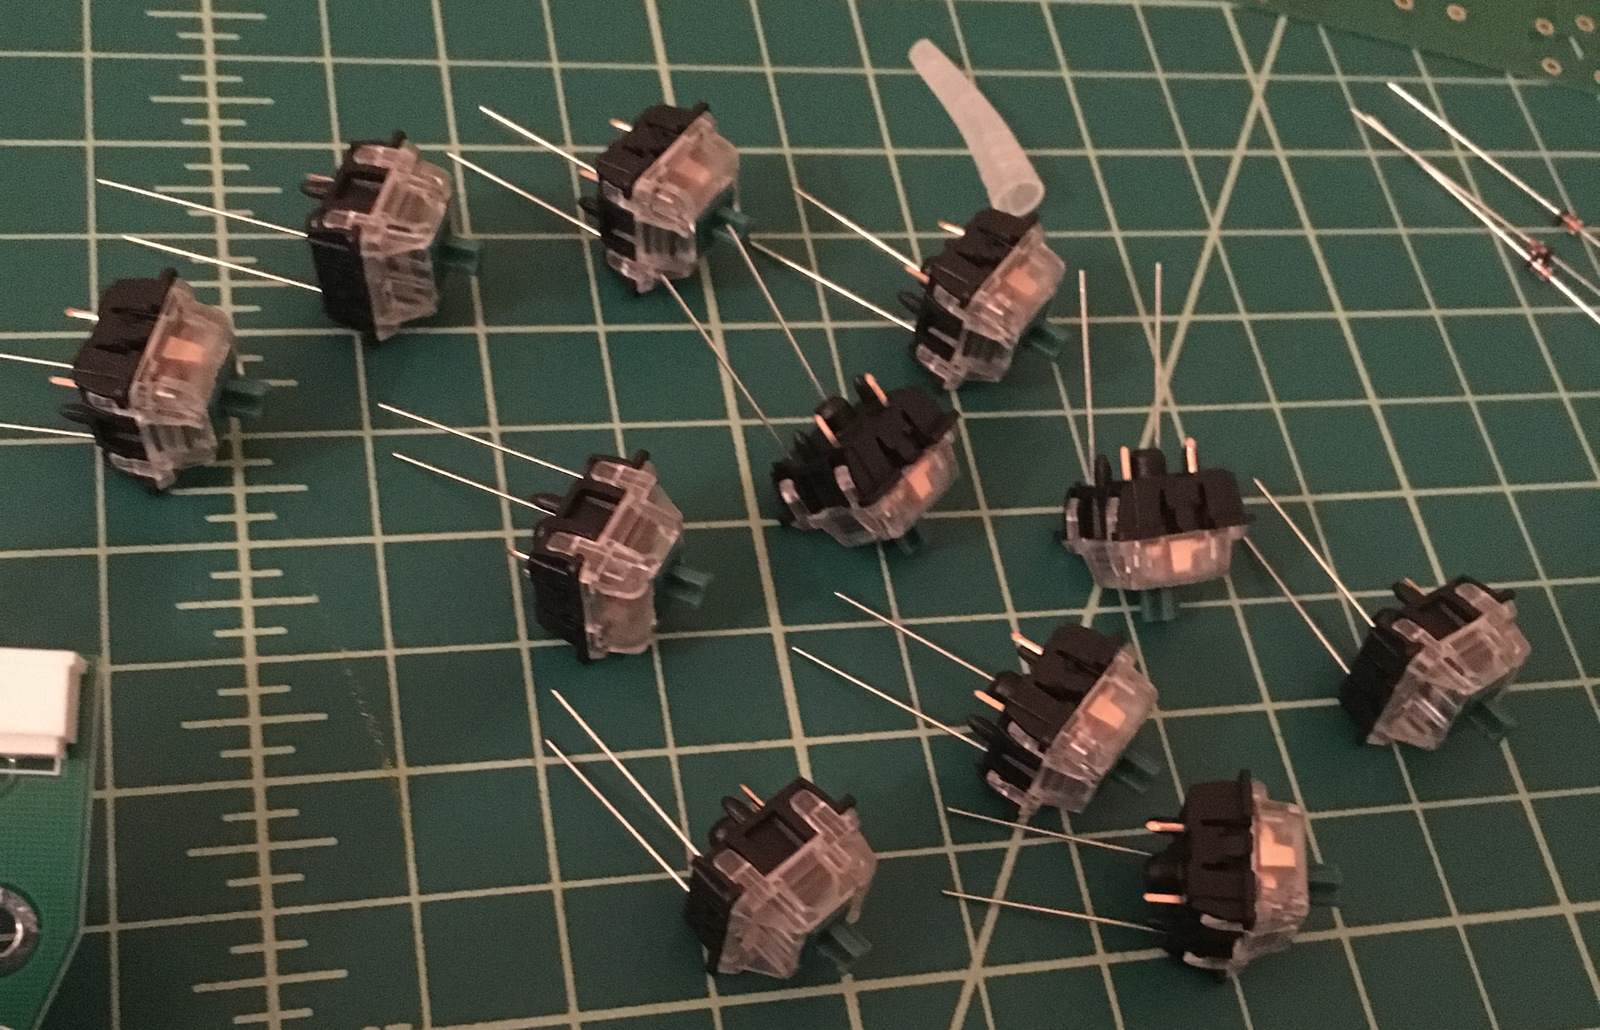
So, the first step was putting the diodes in the thumb cluster switches:
Next was to secure all of the switches in the thumb cluster PCBs:
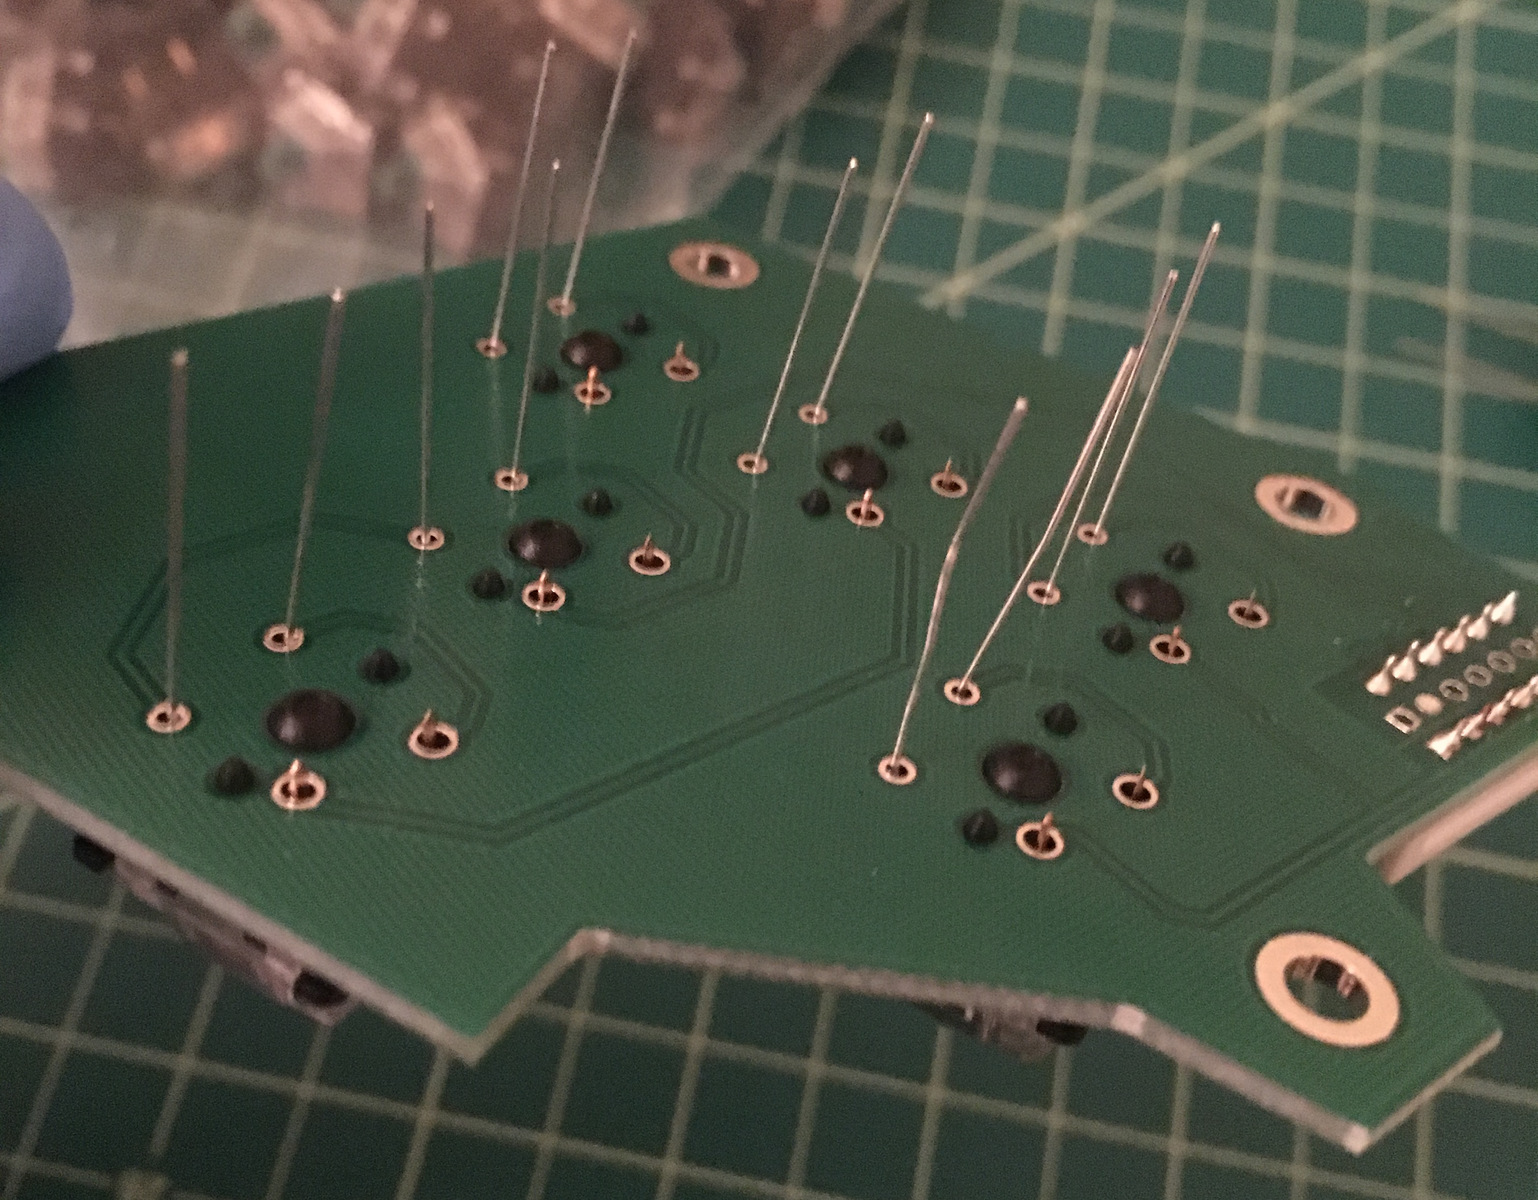
And finally, to solder them in and trim the diodes:
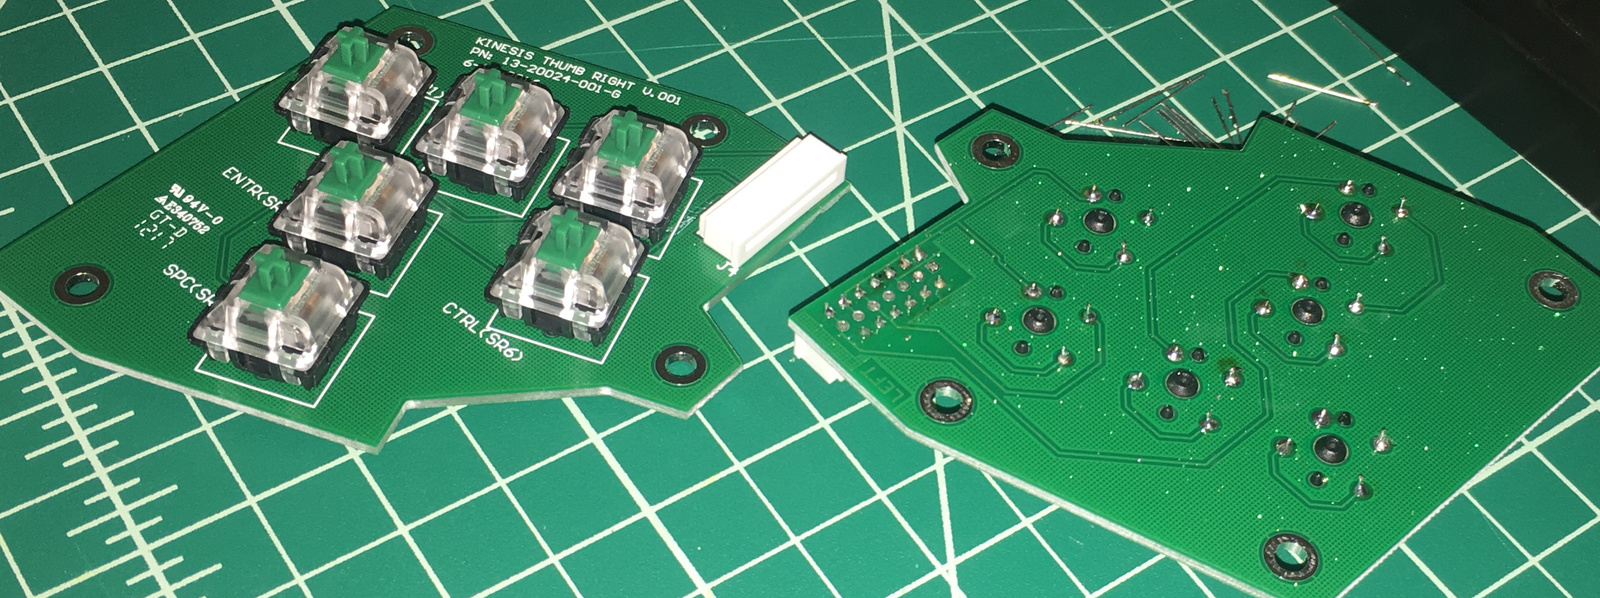
The thumb cluster PCBs had the ribbon cable connectors pre-soldered, which was a relief because those were actually the most frustrating part of the whole project.
The Keywells
The keywells were considerably more annoying than the thumb clusters, but were not actually as bad as I had anticipated.
I started off by putting the switches in one at a time and hot gluing them into place. First switch inserted:
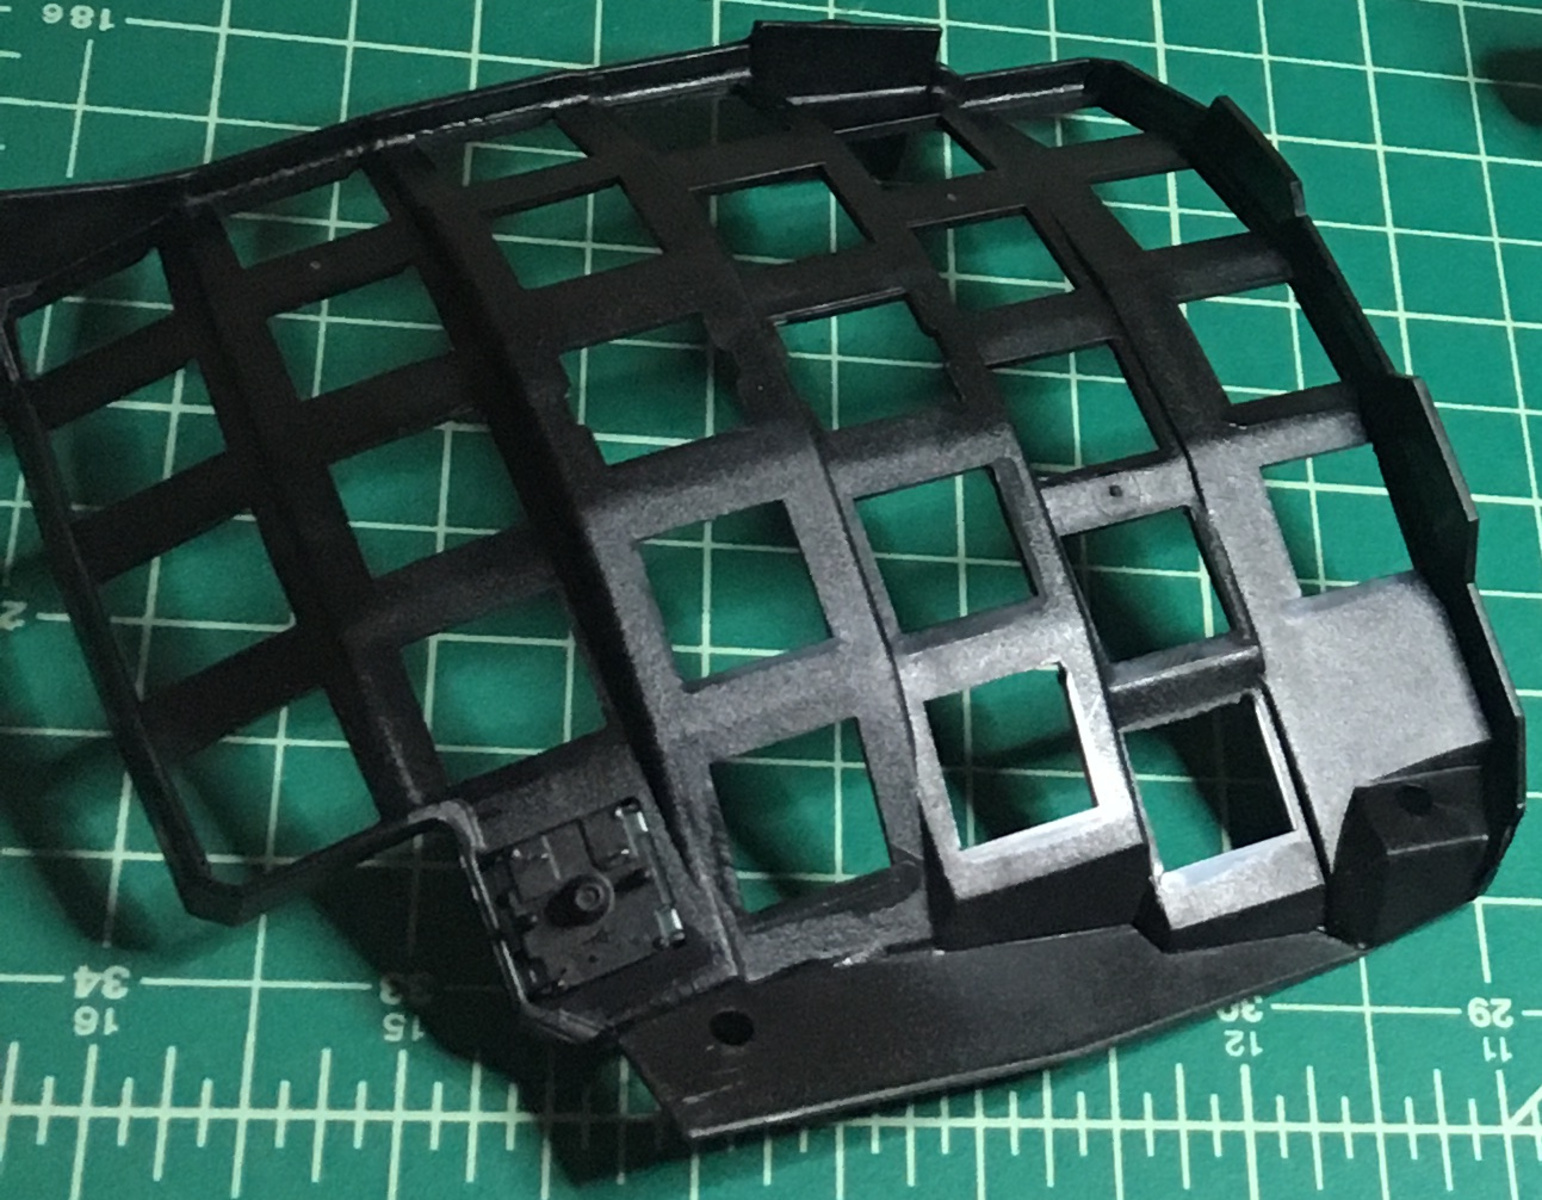
The glue is necessary because the switches don’t sit very tightly in the plate, and due to the odd shape, not all of them snap completely into the PCB. I tried to use a liberal amount of glue so that the switches don’t come lose when pulling off keycaps.
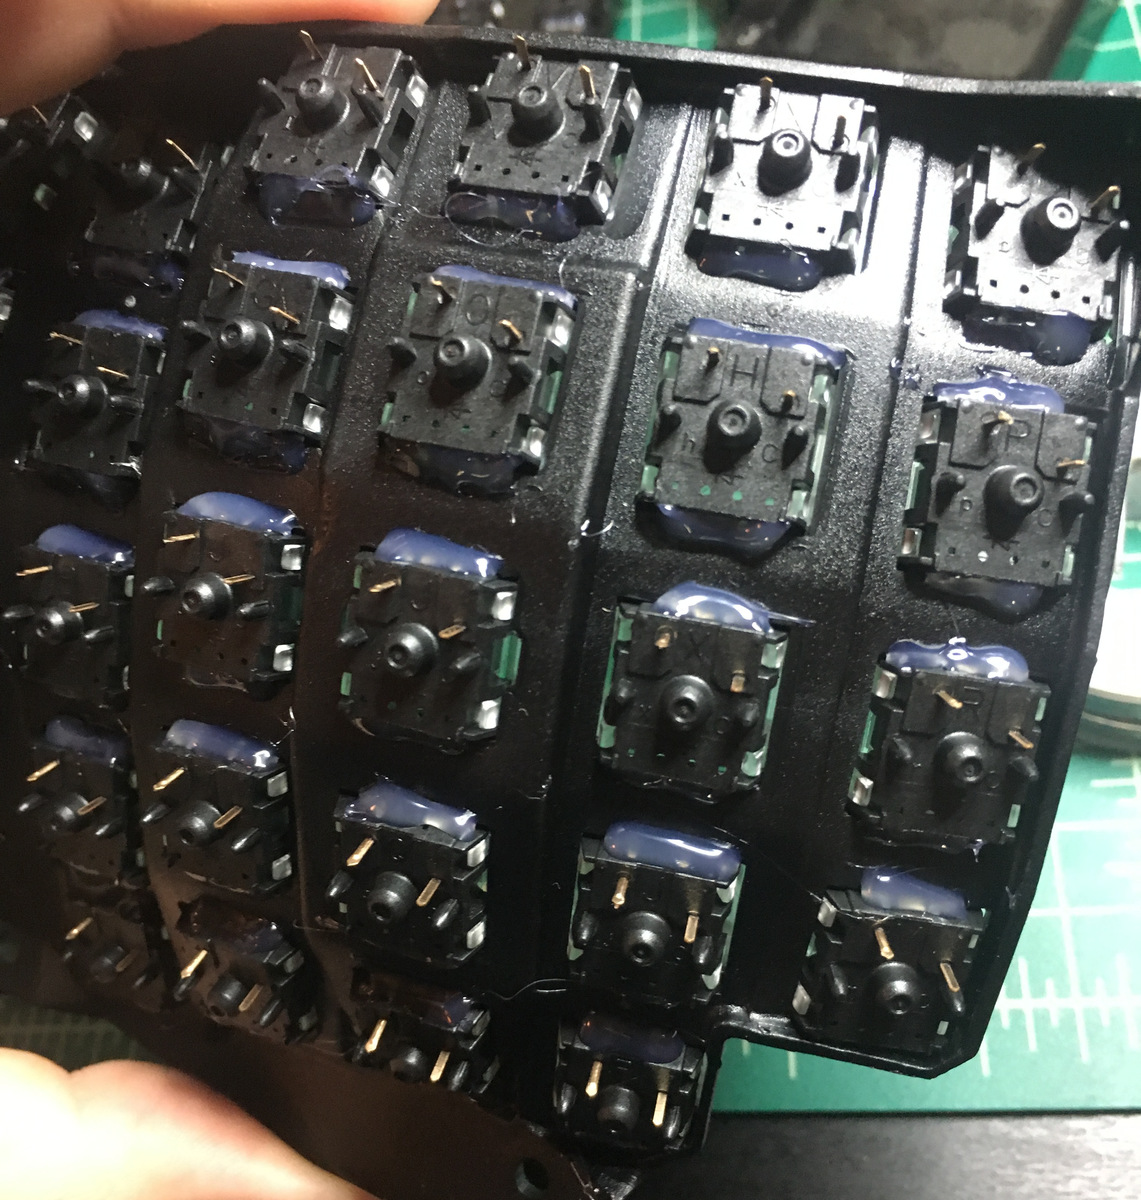
And a little while later, all switches inserted and glued into place:
Now, as mentioned before, the ribbon cable connectors came pre-soldered to the thumb clusters, but not to the keywell PCBs. This was my second time soldering, and my first time in 7 years, so this part was a bit daunting for me. The connector pins are very close together:

Unfortunately, I forgot to take a picture of my crappy soldering job before attaching the PCB to the plate.
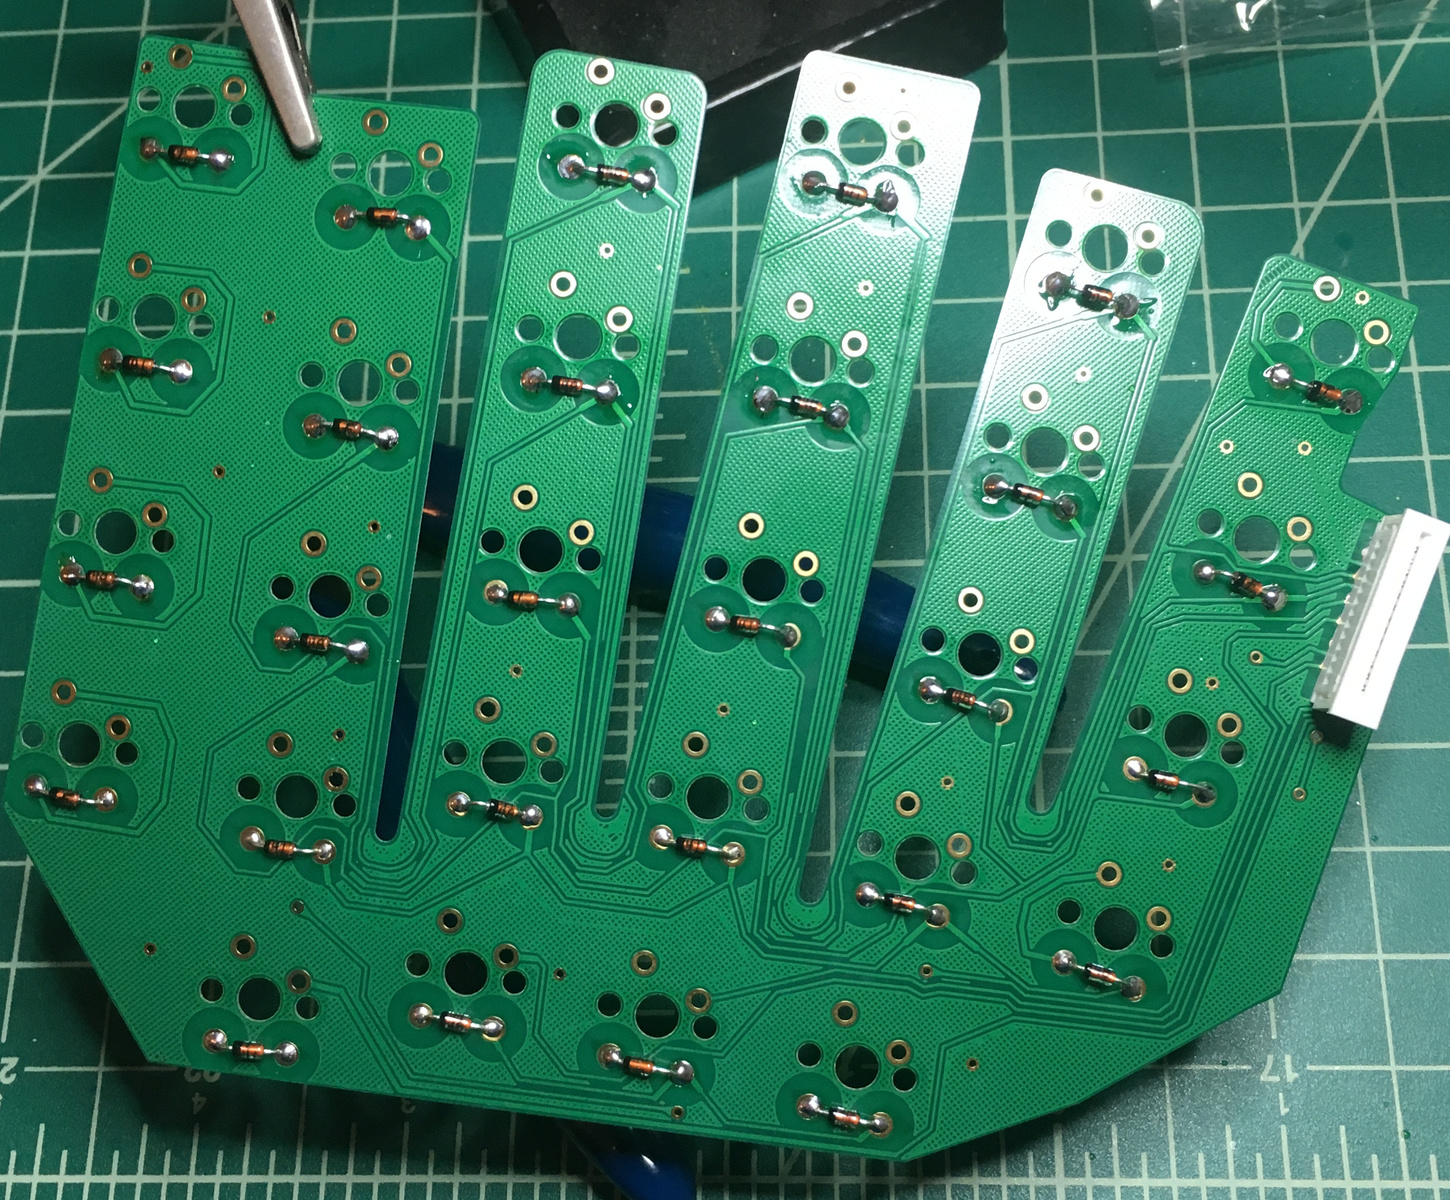
Anyways, after struggling my way through that, the next step was to solder the diodes to the PCBs. I took the advice in the guide not to put diodes in every switch and I agree that it is the right way to go. This part was a bit time consuming, but quite easy to do:
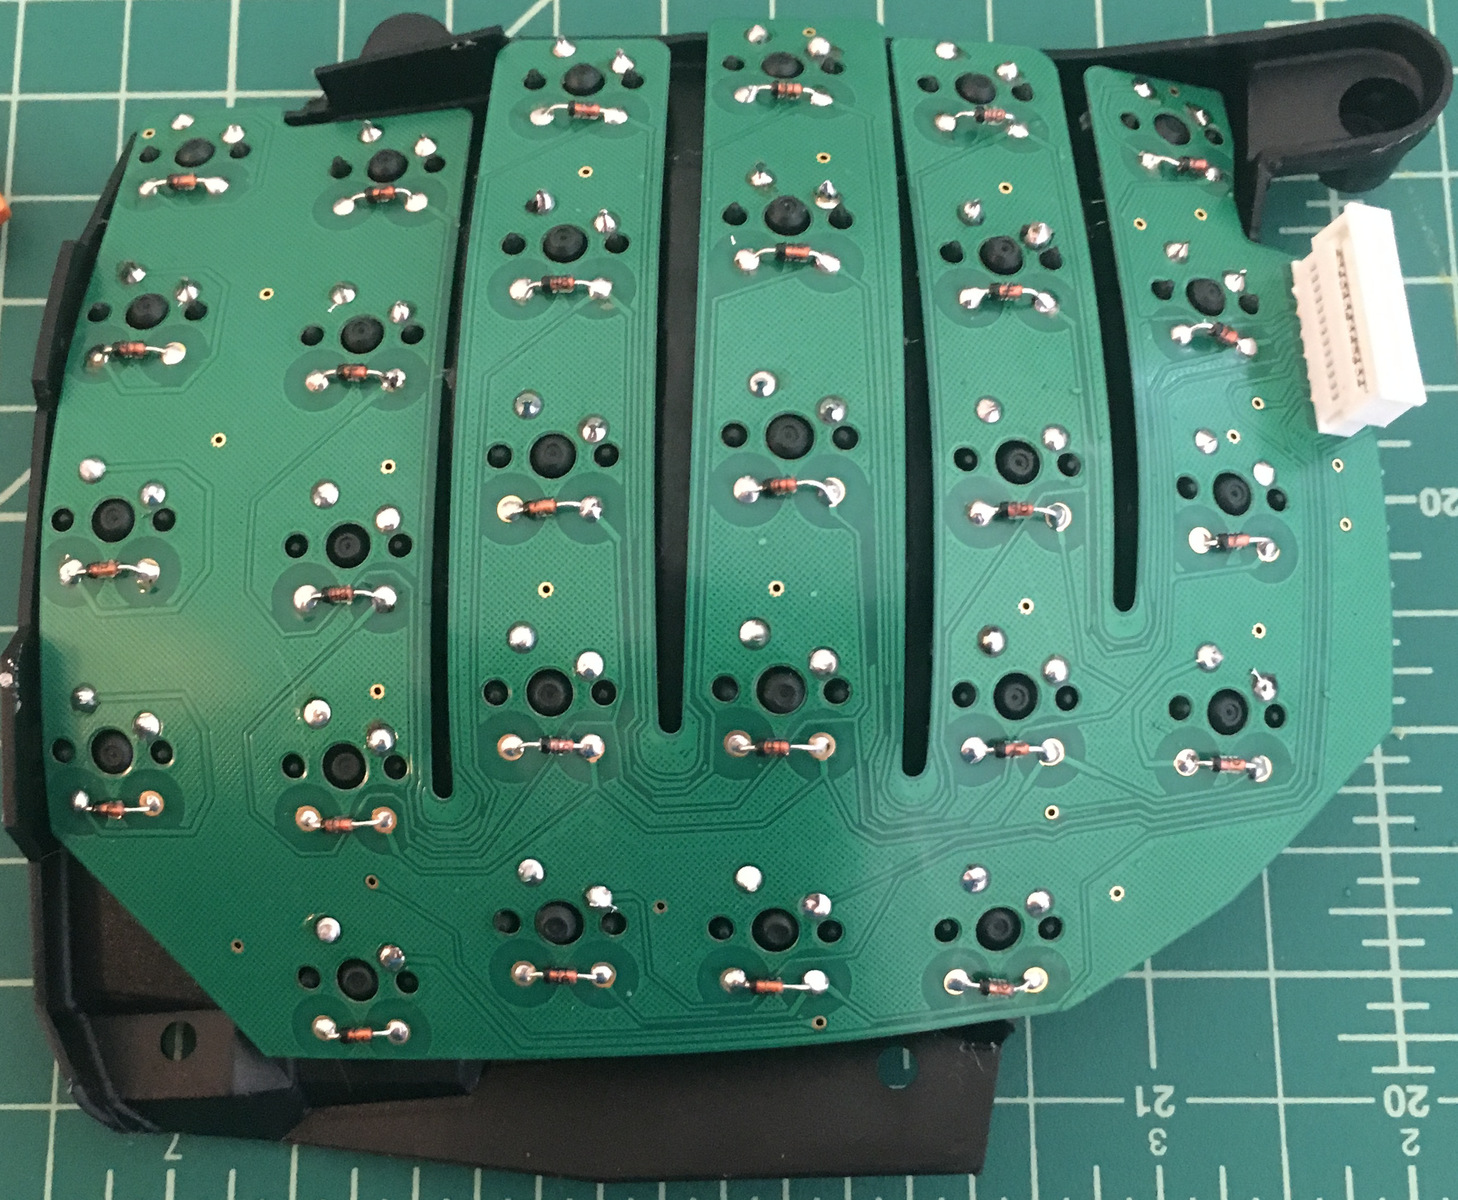
And finally, it was time to attach the PCBs. I used a few small clamps to hold the PCB to the keywell but wasn’t able to take any decent pictures of the process. It wasn’t easy, but the clamps definitely made it much better. Rinse and repeat until finished:
Then admire your work and reward yourself with a good beer (Even if your soldering is terrible):
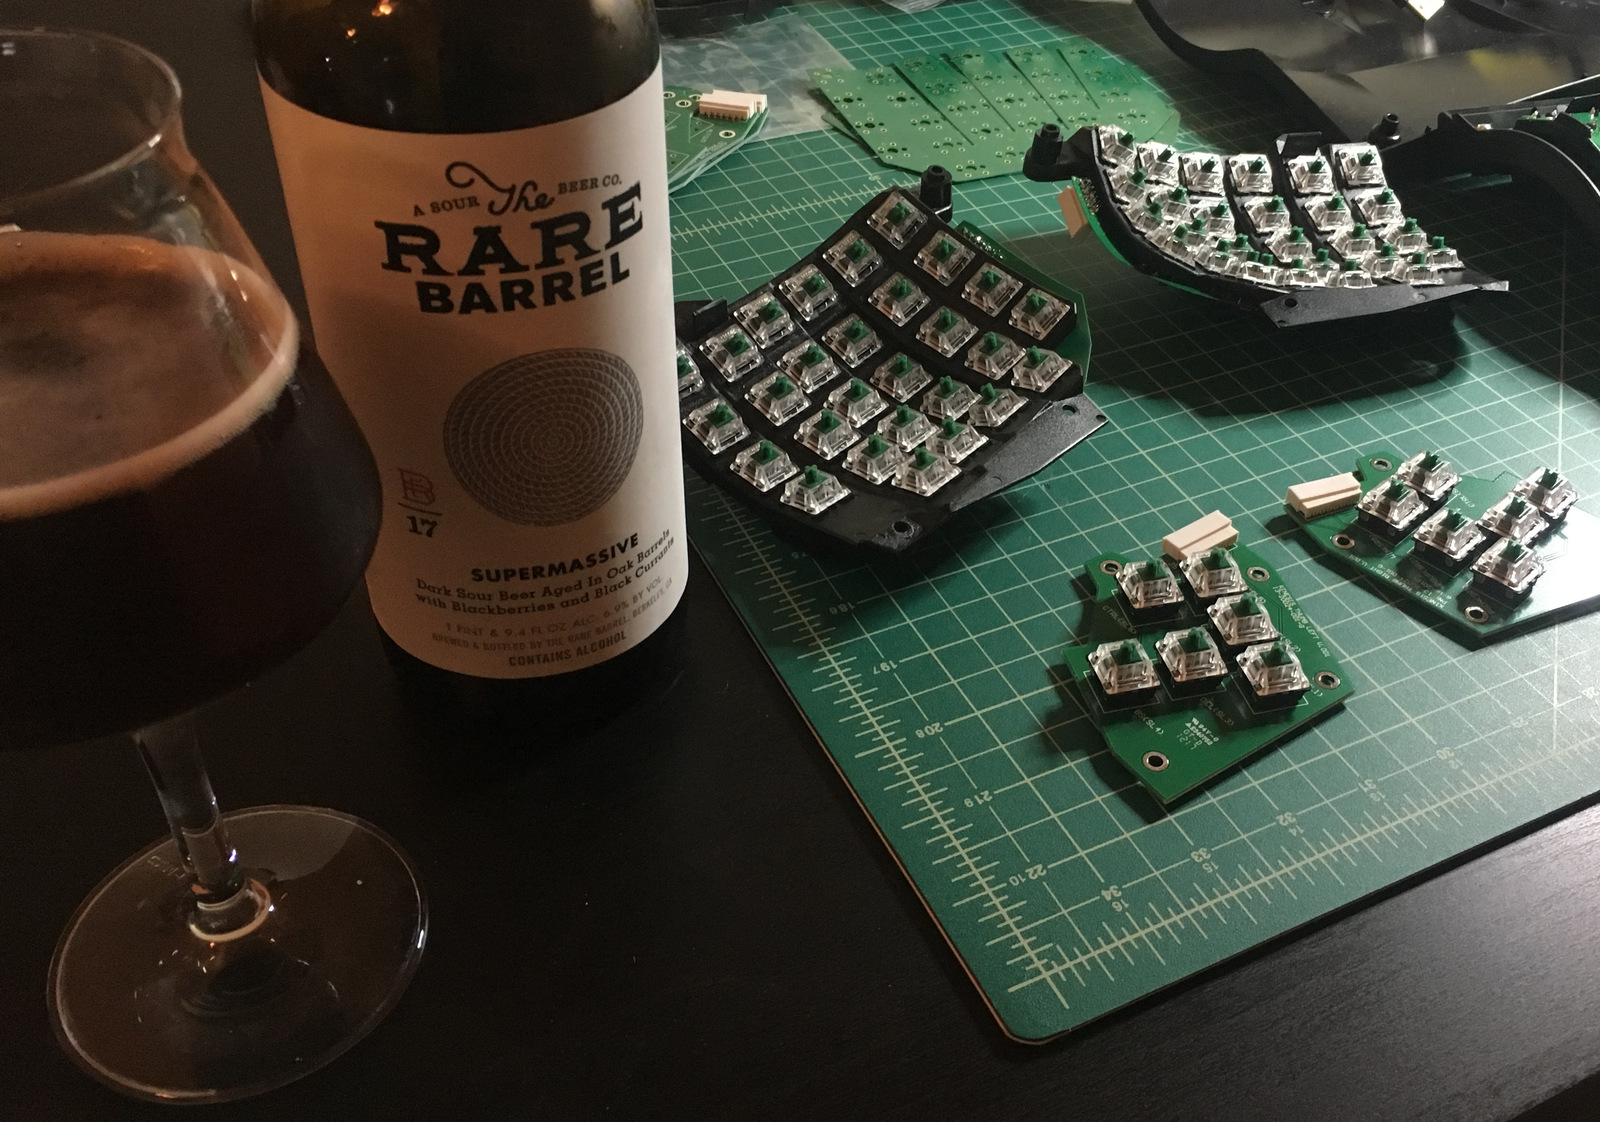
I was pleased to find during testing that everything worked on the first try!
The Case
I ended up not modifying the case myself. I was originally planning on either painting it or vinyl wrapping it, but I was worried that the paint wouldn’t look professional and that vinyl wrapping would be too difficult due to the case’s nooks and crannies. When I stumbled upon MorbidStix and saw that a few others had achieved successful results with the hydro-dipping service, I was relieved.
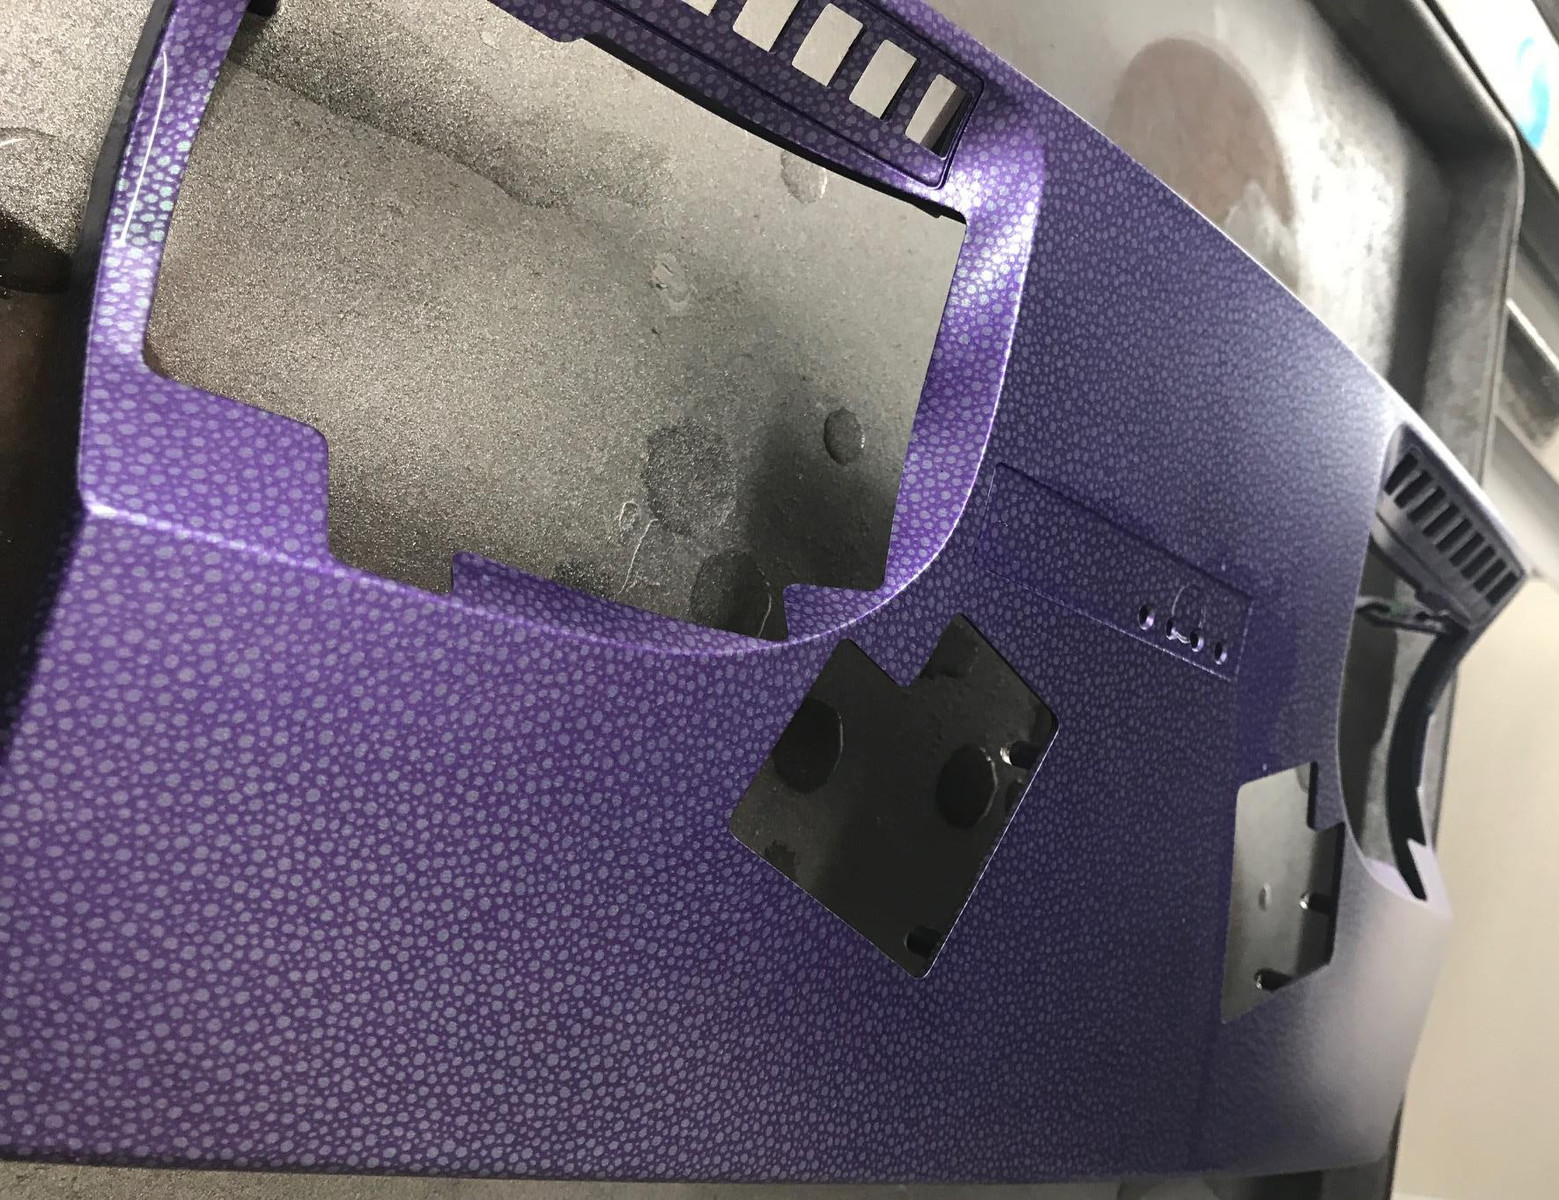
So, I emailed them with some details and soon my case was on its way there. They applied a metallic purple base paint with a pearlescent chameleon finish and then laser engraved the Heroes of the Storm logo on there.
Here’s a picture of the keyboard just after being dipped; notice there are still a few spots that aren’t dry:
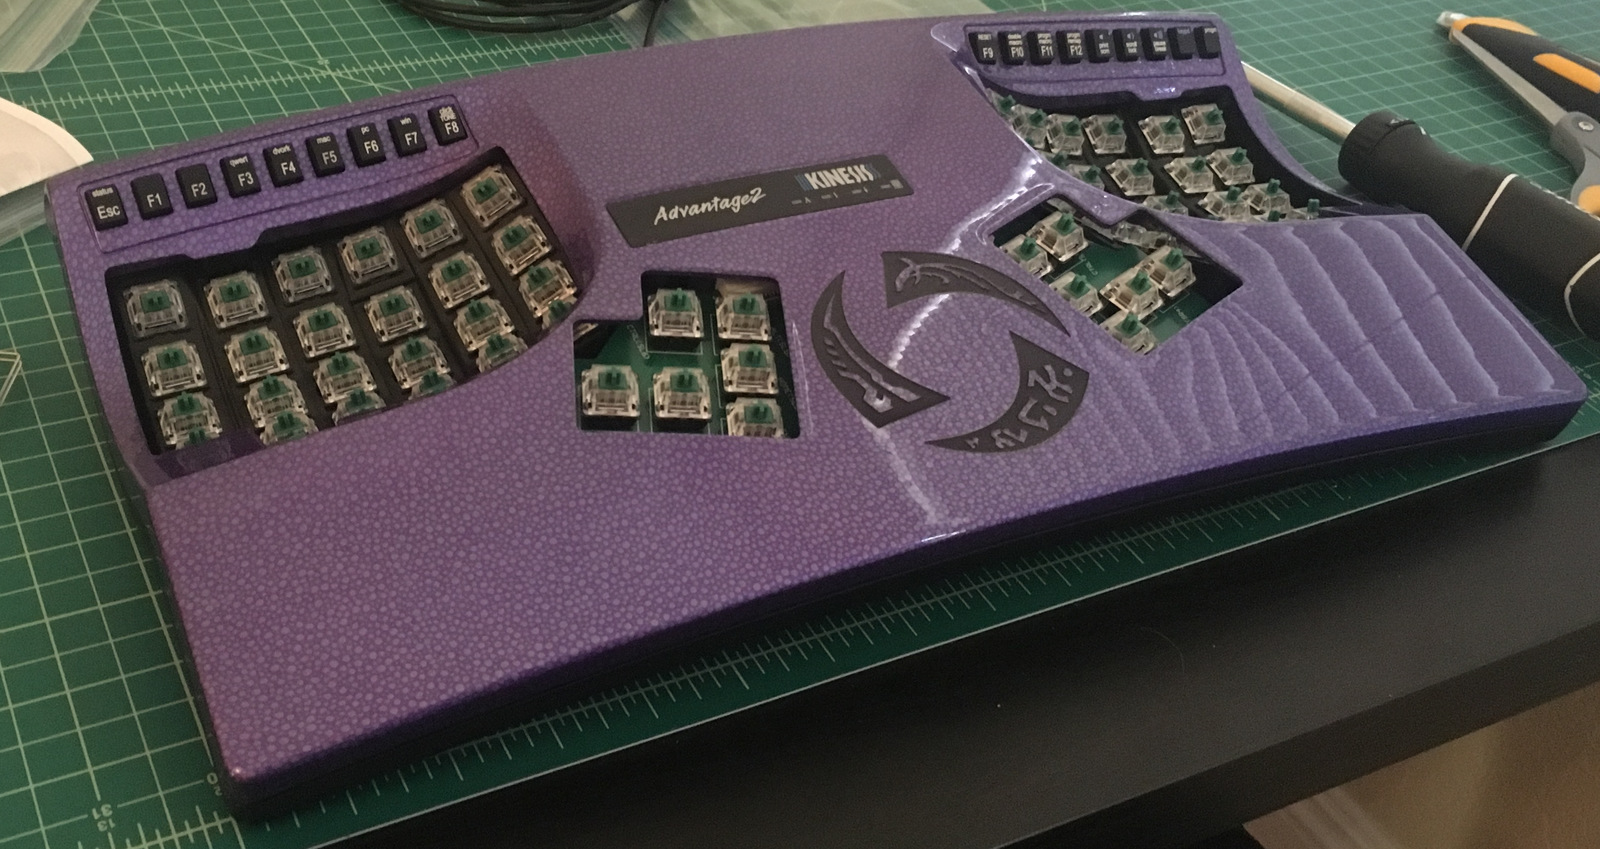
And here’s a picture after the clear coat and laser engraving:
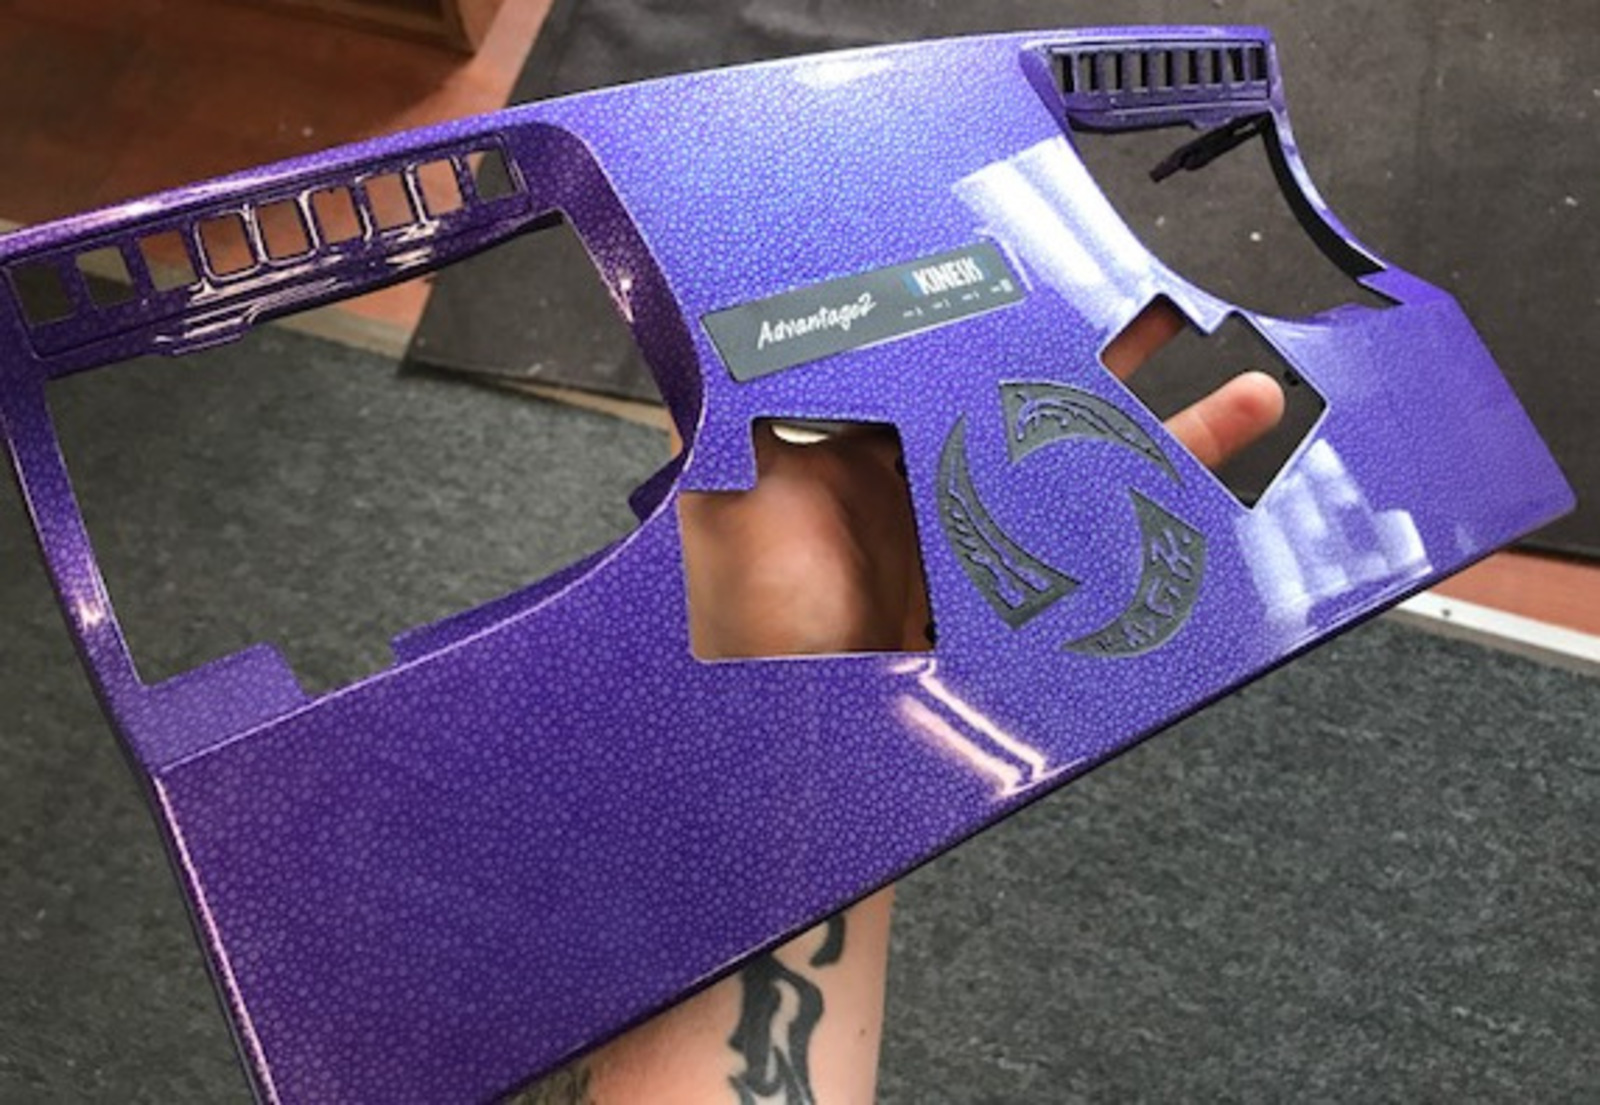
It looks and feels absolutely fantastic and I couldn’t be happier with how it turned out. I’m also confident it will hold up to my sweaty palms given that this is the same finish they put on gaming controllers. If you are looking for an easy way to modify a case, I highly recommend their services!
After getting the case back, it was time to put it all together, but there is actually one other case mod that /u/insertsnideremarks recommended, which is to add some sound dampening inside. The Advantage2 is basically a big hollow piece of plastic which creates an acoustic chamber similar to the way a guitar does. This can make the sound a little unpleasant.
So, using some 1/16” adhesive acoustic foam, I lined the bottom of the case. The foam came in 6 strips which was perfect for the size of the case.
First I measured and cut the 6 pieces of foam:

And then applied them all:
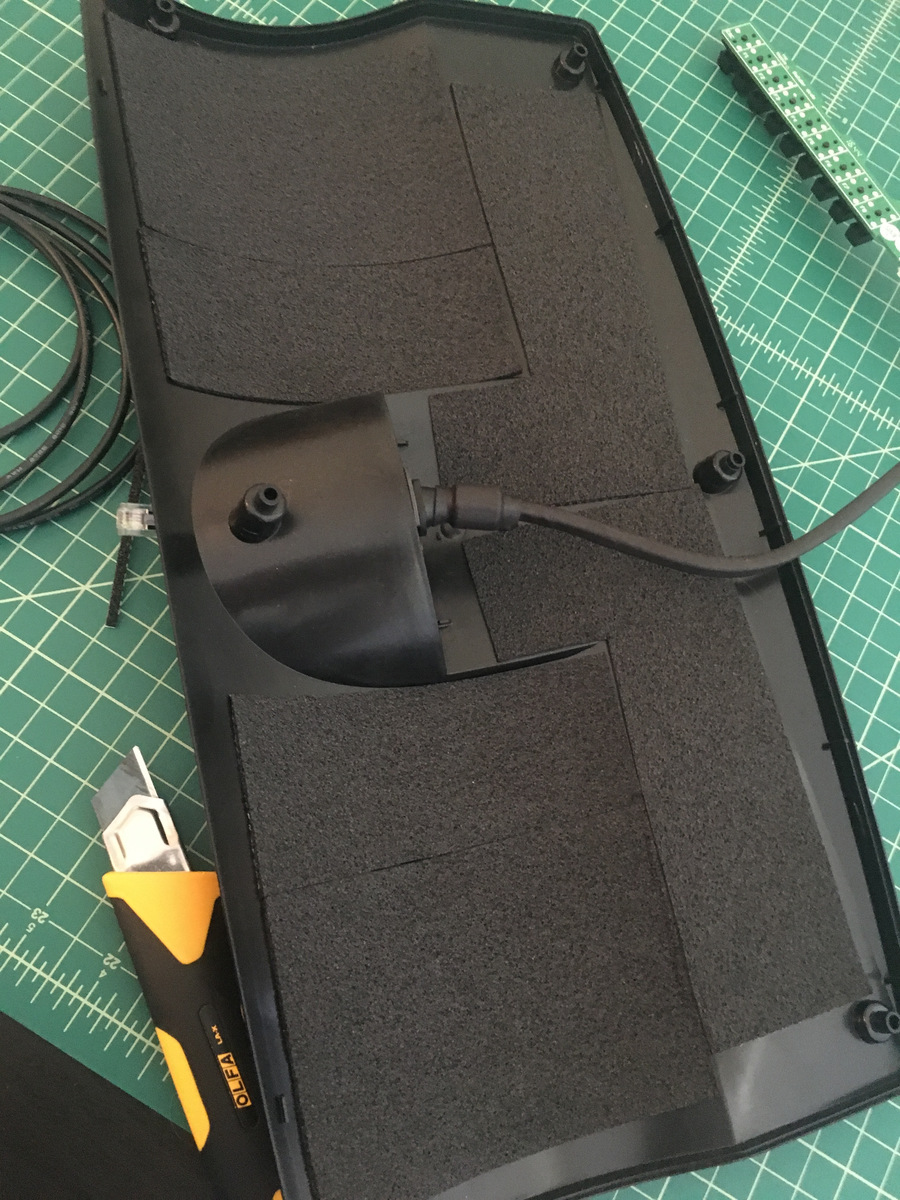
I’m unsure of how big of a difference this actually makes, but for less than $5 it definitely doesn’t hurt.
And then it was time to reconnect all of the electronics:
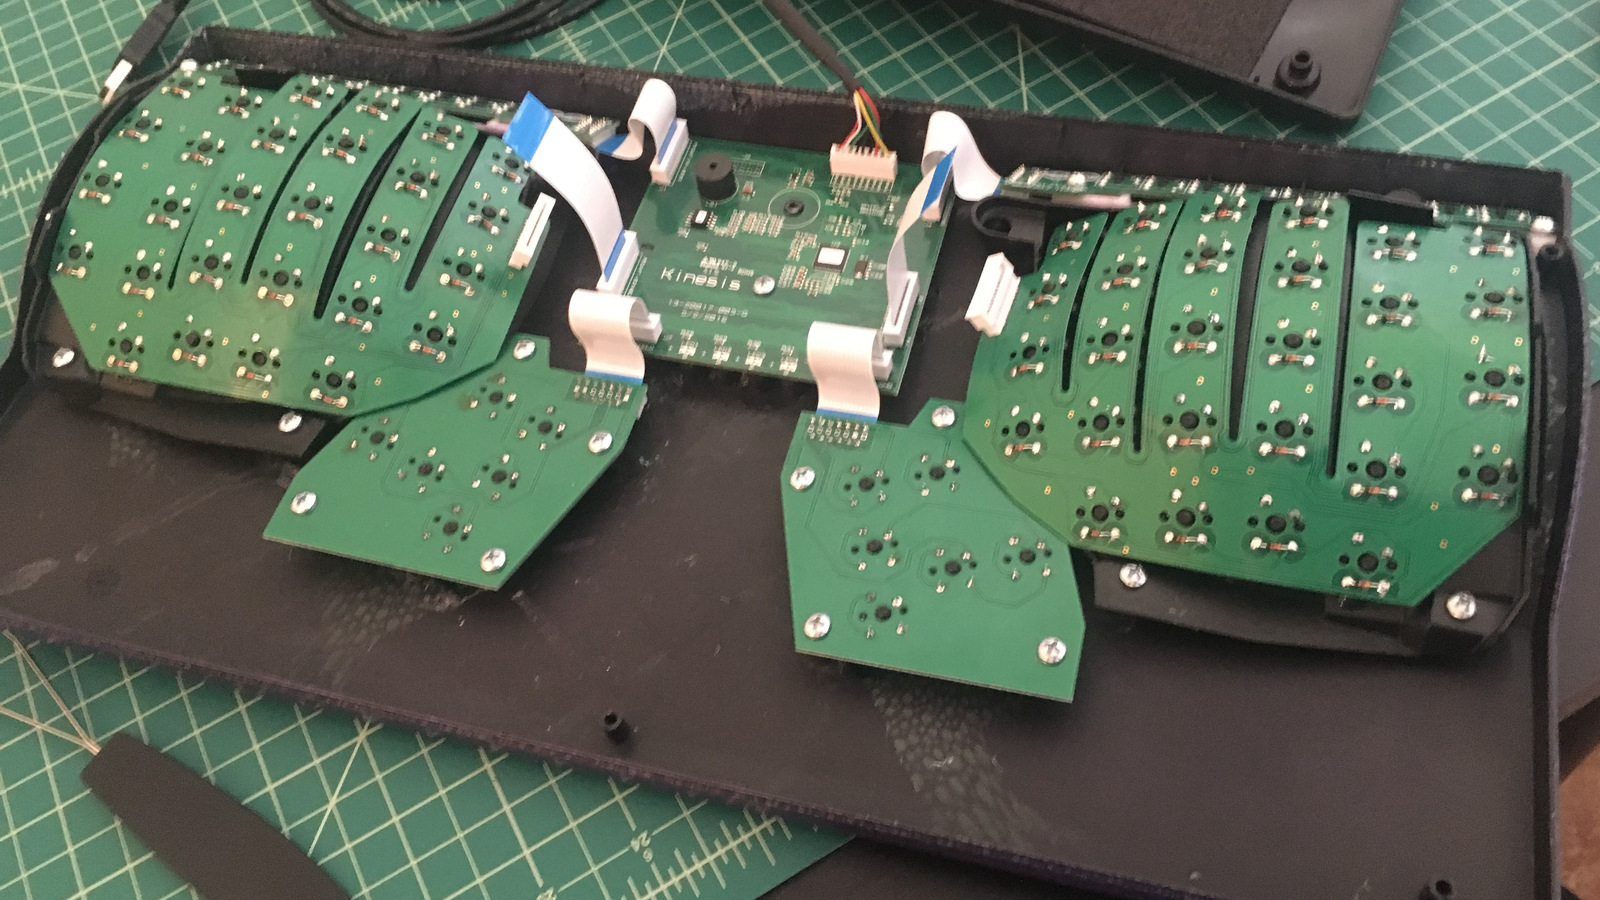
And close it on up:
The Keycaps
Putting on the keycaps is the easy part so there’s not much to say here. Here’s a picture after adding them:
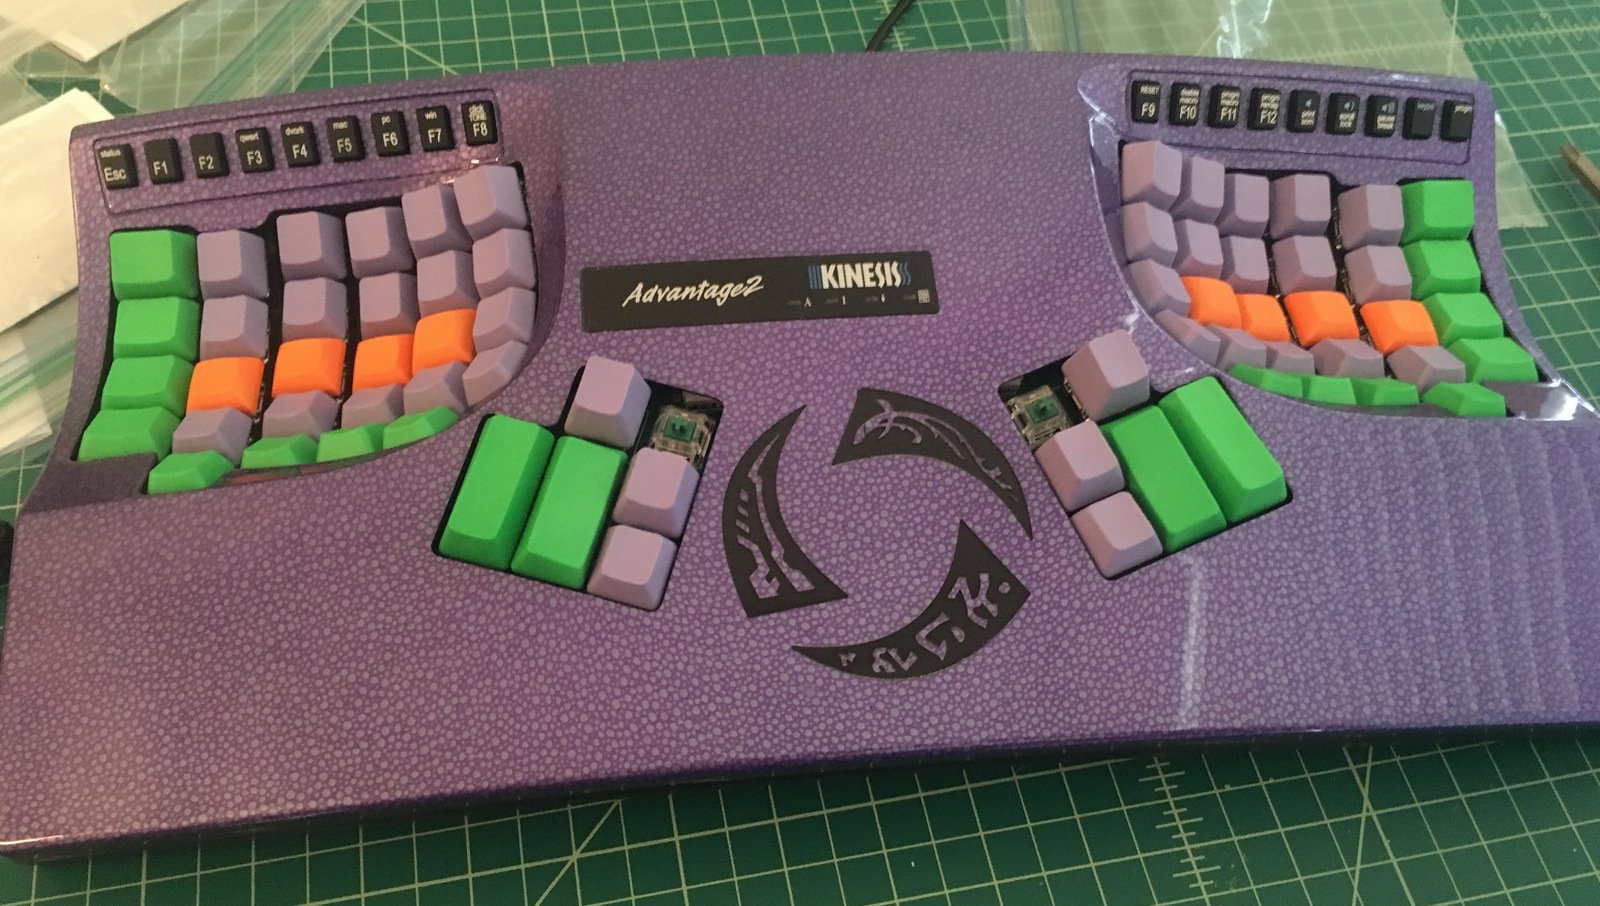
And after the finishing touches:

Ahh, there we go! The two artisans from Clackeys are awesome. They look just as cool in real life as they do in the pictures on Etsy.
Conclusion
I sunk a lot of time and money into something that many would consider to be pointless, but I’m glad that I did. It was a lot of fun, apart from the waiting, and now I have something that I am very proud of and really love using. Given that StarCraft II and Heroes of the Storm are the two primary games I have contributed to in my time at Blizzard, it’s neat to be able to apply them to the main tool I use at my job every day.
Time will tell whether or not I like the Gateron green switches, but if I decide that they’re too stiff, I have 2 more sets of PCBs and can try out something else!
In the coming weeks, I will try to take a video of both typing and gaming on the keyboard, and I will put together a post of how I actually map my controls in a couple games to make playing on the Advantage2 much more comfortable.
And for a bonus pic, I present Pajamathur holding the keyboard:
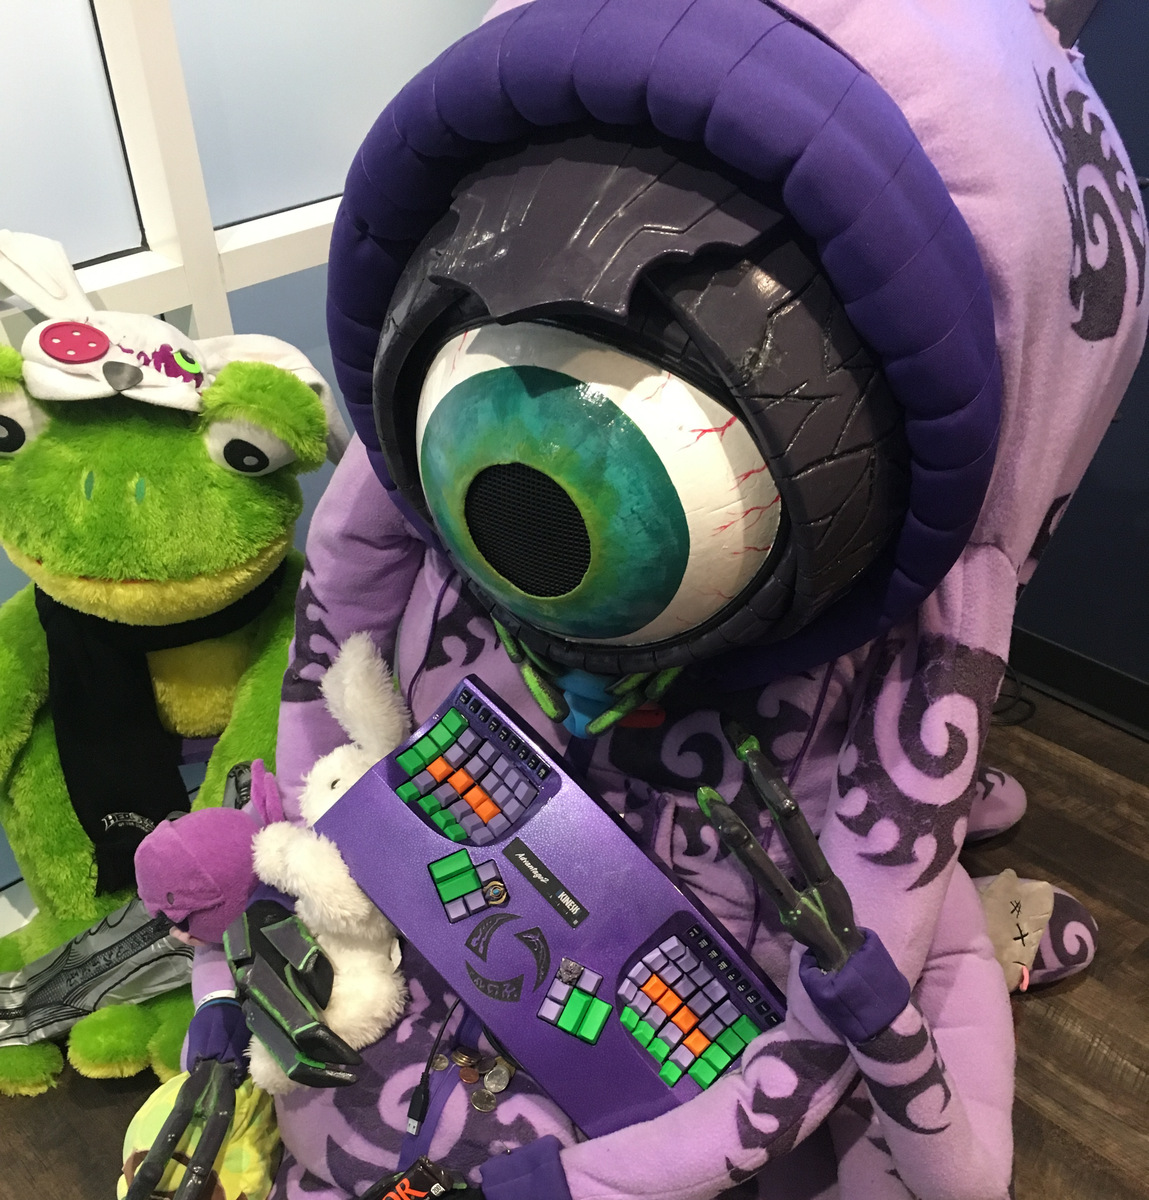
(The epic Pajamathur cosplay was created by @PCGamerPrincess!)